Download and Install TWRP Recovery on Galaxy A51. Samsung Galaxy A51 is an updated version of Galaxy A50s with plenty of new unique features and impressive build quality. This is the most affordable handset from Samsung with enough flagship features.
However, you can always experience your phone’s maximum potential by rooting and flashing custom recovery. In this guide, we’ll unlock the bootloader, root, and install TWRP Recovery on the Galaxy A51 smartphone.
Flashing a custom recovery like TWRP gives various opportunities to perform on your phone. Most important, you can flash custom ROM on Galaxy A51, install a custom kernel, take a Nandroid backup or restore.
Moreover, you can even flash mods, remove bloatware, increase internal memory, do a factory reset, etc. Besides, you can also root Android using CF-Auto-Root, SuperSU, or Magisk. There are many ways to flash recovery. You can either install TWRP without PC using apps from Play Store.
Or flash TWRP using PC and Odin tool. Furthermore, you can use the Odin tool and flash Galaxy A51 stock ROM as well. Here, we’ll use ADB and Fastboot commands to flash TWRP. Without further ado, let’s install TWRP recovery on the Galaxy A51 SM-A515F smartphone.
How to Install TWRP Recovery on Galaxy A51
Are you ready to flash TWRP custom recovery on your Samsung Galaxy A51? Then let’s get started.
Disclaimer
This process is intended for advanced users. A wrong move can completely damage your phone. Hence implement the steps carefully. Most importantly, do not perform anything on your own.
Prerequisite
- Ensure to charge your phone’s battery to a minimum of 50%.
- Install Samsung USB drivers on your PC.
- Enable USB debugging mode in your mobile settings.
- Moreover, enable OEM to unlock mode from the Developer options.
- It is strongly recommended to take a backup of your important phone data for safety.
Let’s start the actual Samsung Galaxy A51 TWRP recovery installation process.
Method 1: Using ADB & Fastboot
At first, we’ll use the command prompt window and flash TWRP using ADB and Fastboot commands.
Downloads
Procedure
- Install ADB on your computer.
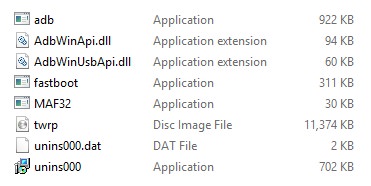
- Moreover, copy the downloaded TWRP.img file to C:\Program Files\Minimal ADB and Fastboot folder (where you’ve installed the ADB drivers).
- Now you’ll see the following files in the ADB folder:
- Connect your phone to PC via USB data cable.
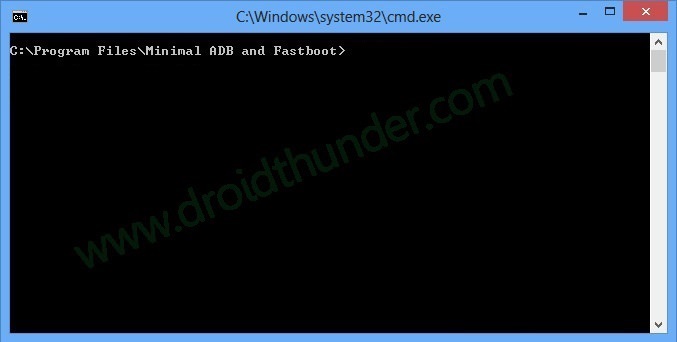
- Go to C:\Program Files\Minimal ADB and Fastboot folder, hold the Shift button and right mouse click on a space.
- You’ll see a list of options from which select Open command window here option.
- This will launch a command prompt window on the screen.

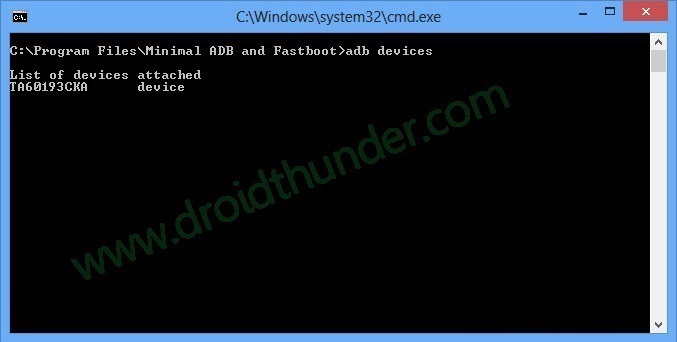
- Type the following command in the cmd window and press enter key:
adb devices
- As soon as you hit enter, a message saying ‘List of devices attached’ will appear.
- This will confirm that your phone is successfully recognized by PC.
- If such a thing doesn’t happen, then install Samsung USB drivers again.
- If the problem persists, the refer our guide:
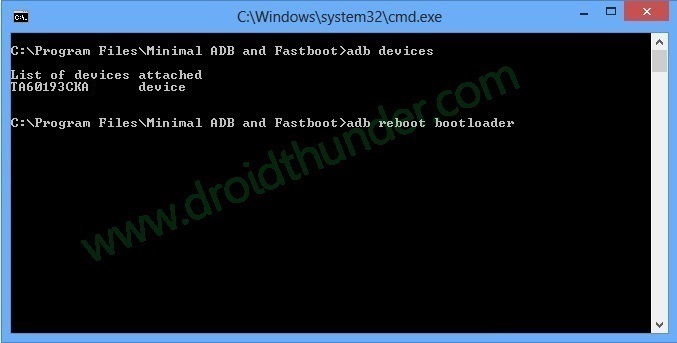
- Enter the following command to boot Galaxy A51 into fast boot mode.
adb reboot bootloader
- To confirm whether fast boot is functional or not, enter the command:
fastboot devices
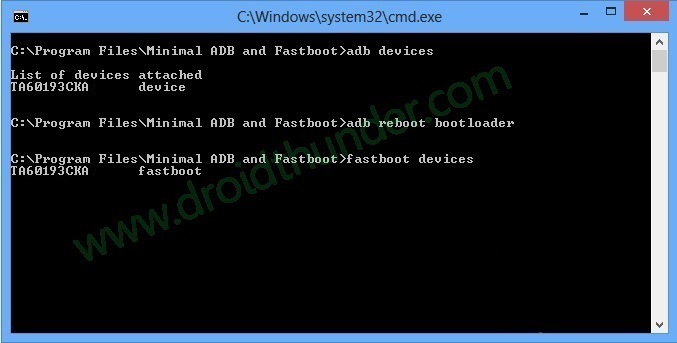
- Some random numbers will confirm that Fastboot is indeed functional.
- We’ll now install TWRP recovery on Galaxy A51. Hence, enter the command:
fastboot flash recovery twrp.img
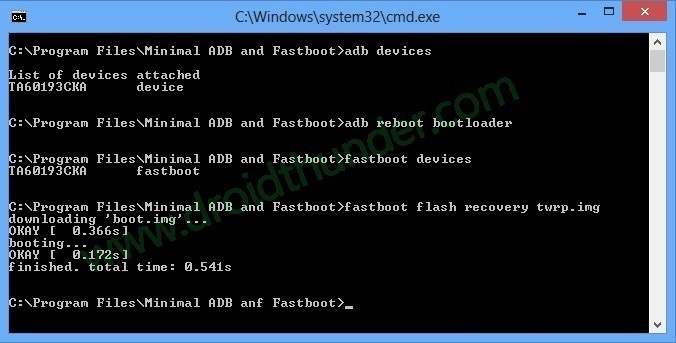
- This will start the Samsung Galaxy A51 TWRP recovery installation process.
- Finally! This is how you can install TWRP recovery on Galaxy A51 using ADB and Fastboot commands.
Method 2: Using Odin Tool
In this method, we’ll use the famous Odin Flash Tool to install TWRP custom recovery.
Downloads
Procedure
- Power off your phone and boot it into download mode.
- For that, press and hold the Power button+ Volume down key simultaneously until the download mode appears.
- Keeping the phone as it is, connect it to PC via USB cable.
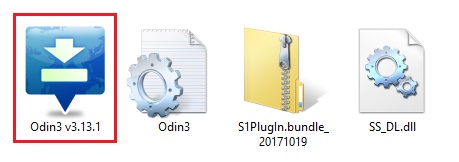
- On PC, open the Odin tool.
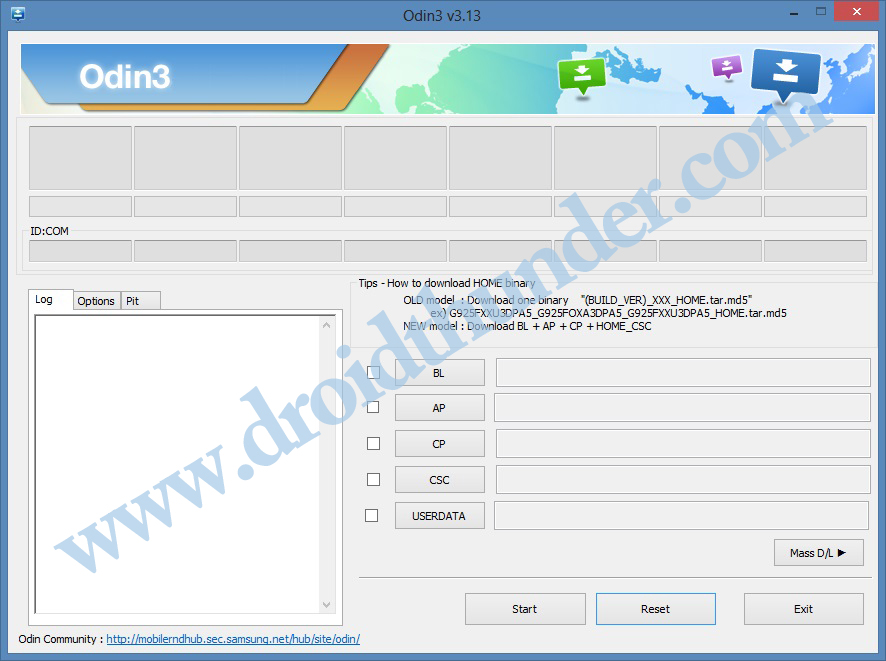
- The ID: COM section will turn blue along with an Added message.
- This will confirm a successful connection between your phone and PC.
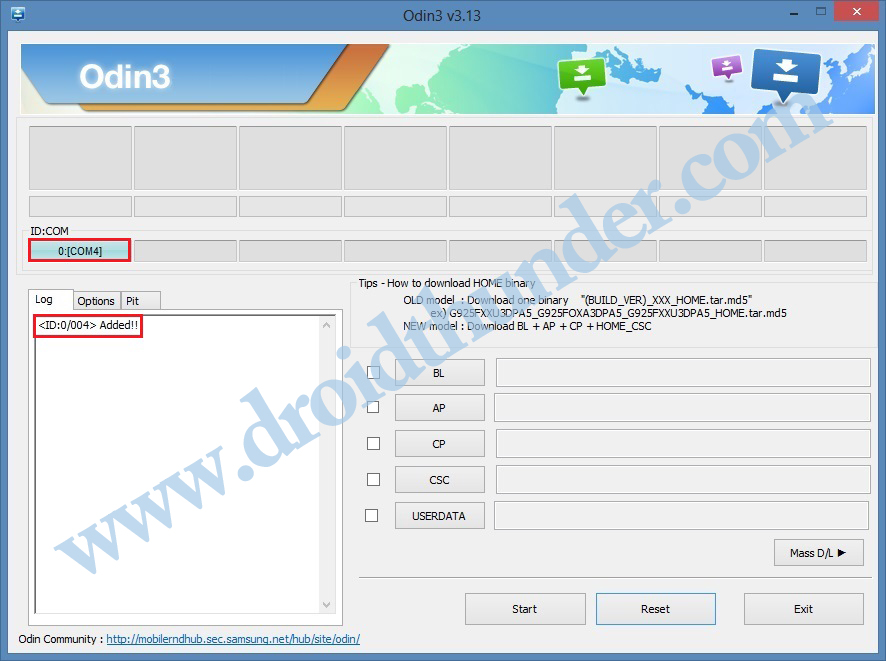
- If such a thing doesn’t happen, then change USB cable or the USB port.
- Moreover, ensure the Auto Reboot and F.Reset Time options are checked.
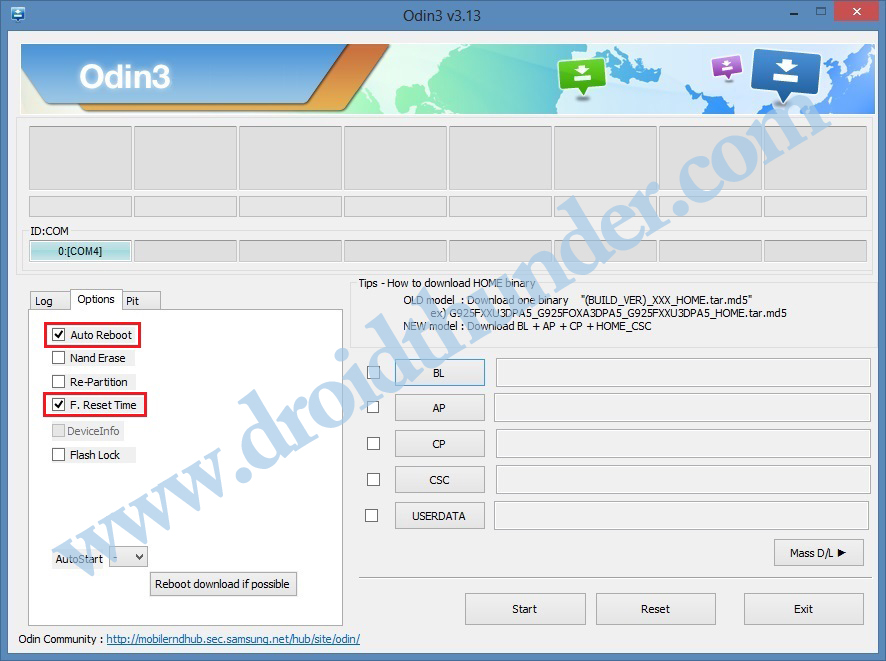
- Do not tick any other options other than the mentioned ones.
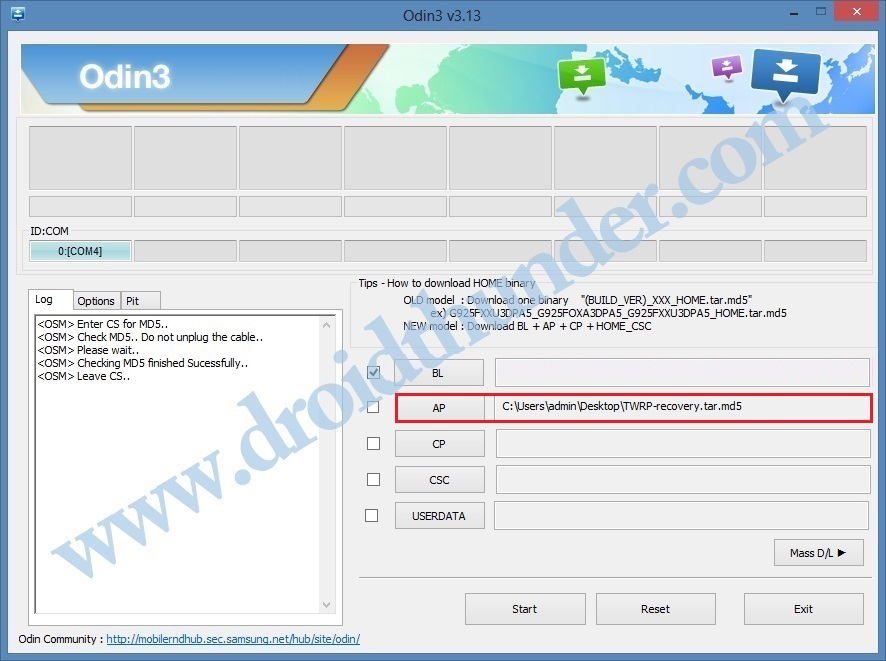
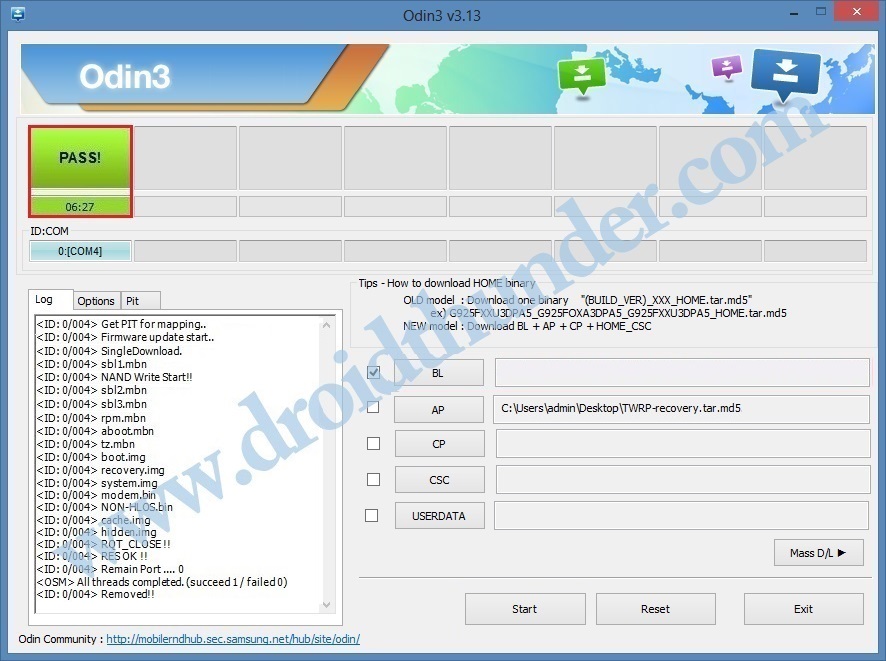
- Finally, tap on the AP button.
- Then browse and select the downloaded TWRP recovery.tar.md5 file.
- To initiate the actual TWRP Samsung Galaxy A51 installation process, tap the Start button on the Odin flash tool.
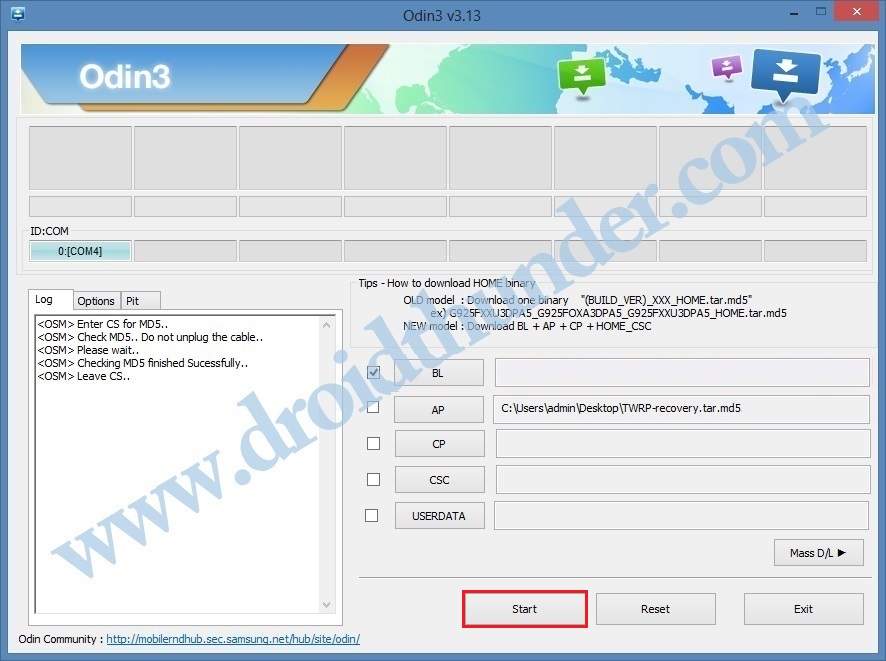
- Be patient until the flashing finishes.
- As soon as it completes, the ID: COM section will turn green with a Pass message.
- If Odin fails to install TWRP, then close it, again boot the phone into download mode, and repeat the process.
- Finally! You’ve successfully installed TWRP recovery on Galaxy A51 using the Odin tool.
Steps to Boot Galaxy A51 into TWRP recovery mode
- Power off your phone completely until it vibrates.
- Press and hold the Volume up key + Power key simultaneously.
- As soon as the TWRP logo appears, let go of both the keys.
- If this doesn’t work for you, then try the TWRP Manager app from Play Store.
Conclusion
Finally! This is how you can install TWRP recovery on the Galaxy A51 SM-A515F smartphone. If you have any questions related to this guide, then use the comment box below.