
Download TWRP Recovery for Samsung Galaxy M10 using an easy steps guide. Yes! You heard it right. In this tutorial, we’ll install the latest official TWRP recovery on the Galaxy M10 smartphone. Despite the many cheapest smartphones launched by Oppo, Vivo, or Xiaomi, the Android users also had an affection towards Samsung. Hence, this year the company has launched a new Galaxy M series consisting of the most affordable phones with flagship features.
There are plenty of ways to install TWRP on any Android phone. You can either install TWRP without a PC or you can install TWRP using the app. In this guide, we’ll install TWRP recovery on Galaxy M10 using ADB and fastboot commands. Additionally, we’ll also install TWRP recovery on Galaxy M10 using the Odin flash tool. You may use either of the method mentioned below.
Do you want to Root Galaxy M10? Do you want to install a custom ROM on Galaxy M10? If yes, then install TWRP recovery first. Without further ado let’s go to the detailed easy steps guide on how to flash the latest official TWRP recovery on Samsung Galaxy M10 SM-M105F and SM-M105DS smartphone given below.
Samsung Galaxy M10 Specification
Galaxy M10 features a premium display and design along with a waterdrop style notch, a new system UI, and a reliable battery. With such specs, the Galaxy M10 price in India starts from just Rs. 8990. That means users can enjoy and experience all the latest trending features at a much affordable price tag. Moreover, it comes in two variants: Galaxy M10 16GB 2GB RAM and 32GB 3GB RAM.
Looking at some more specs, it offers a 1.6GHz Exynos 7870 octa-core processor. Furthermore, it features 6.7 inches of Super AMOLED screen with 1080 x 2400 pixels of resolution. Talking about the Galaxy M10 camera, it sports a dual-camera setup of 13 + 5 megapixels. On the other hand, it offers a 5-megapixel front camera for selfies. For more detailed specs, search Galaxy M10 gsmarena on Google.
Disclaimer
We at Droid Thunder will not be liable for any damage caused to your phone by using this guide. Implement the steps at your own risk. Most importantly, flash this recovery only on Samsung Galaxy M10 SM-M105F/DS. Applying this on any other device might cause permanent damage.
Requirements
- A Windows computer and a standard USB cable.
- To avoid interruption, charge your phone to at least 60%.
- Install Samsung USB drivers on your computer.
- Enable USB debugging from your device settings.
- Also, enable OEM unlock from the Developer options.
- For safety, backup your contacts, apps, messages, call logs, notes, etc.
How to install TWRP Recovery on Galaxy M10
In this guide, we’ll use two methods for the custom recovery installation process. In the first method, we’ll use ADB and fast boot commands. Whereas, in the second method, we’ll use the Odin flash tool.
Method 1: ADB & fastboot
In this method, we’ll use a command prompt window on a Windows PC. Moreover, we’ll apply simple ADB commands and flash the custom recovery.
Downloads
Steps to install TWRP Recovery on Galaxy M10
- Install ADB drivers on your computer.
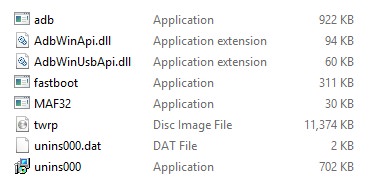
- Copy the downloaded twrp.img file to the location C:\Program Files\Minimal ADB and Fastboot folder (where you’ve installed the ADB drivers).
- Then you’ll find the below files in the ADB folder:
- Connect your device to the PC via USB cable.
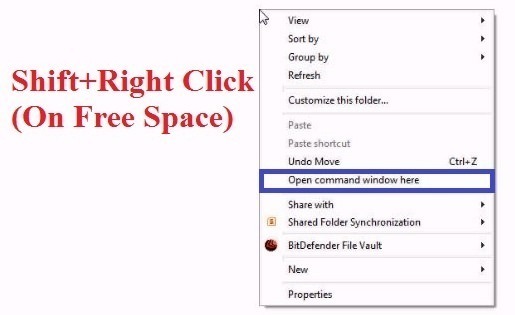
- On your PC, go to C:\Program Files\Minimal ADB and Fastboot folder, hold the Shift button, and right mouse click on space.
- You’ll see a list of options from which select the Open command window here option.
- This will open the cmd window as shown below.
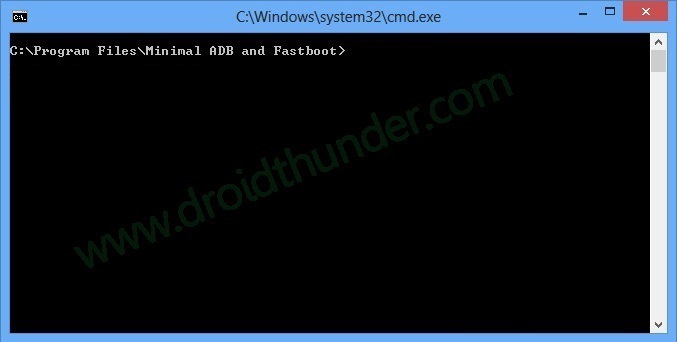
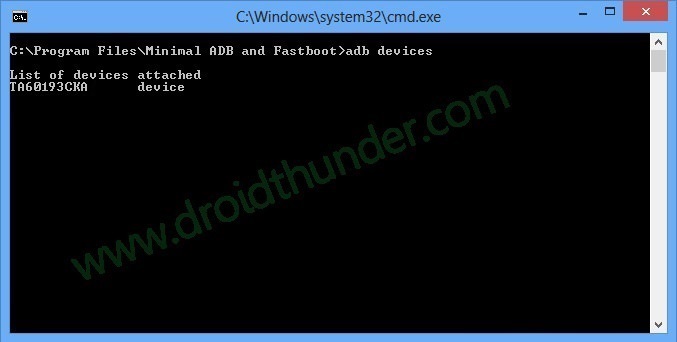
- Type the below command in the cmd window and hit enter:
adb devices
- As soon as you press enter, a message saying ‘List of devices attached’ will show.
- This will confirm that your M10 is successfully connected to the PC.
- If such a thing doesn’t happen, then re-install Samsung USB drivers or ADB drivers.
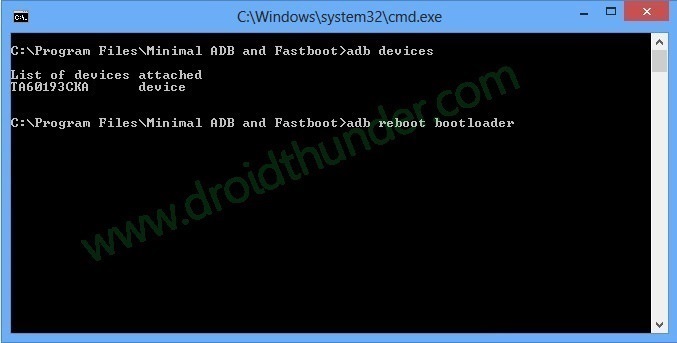
- Enter the below command to boot Galaxy M10 into fastboot mode.
adb reboot bootloader
- To confirm whether fastboot is functional or not, enter the following command:
fastboot devices
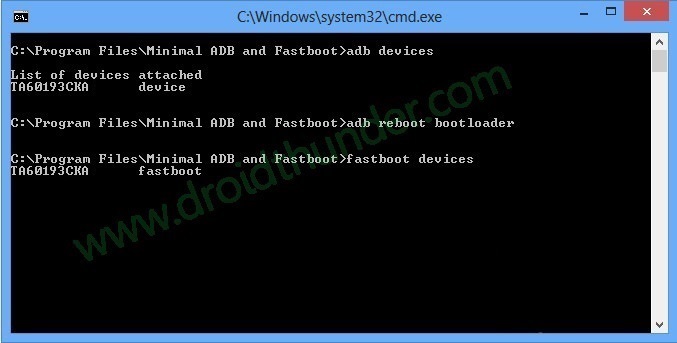
- Some random numbers along with the ‘List of devices attached’ message will verify that fastboot is functional.
- Let’s install TWRP recovery on Galaxy M10 now. To do so, enter the following command:
fastboot flash recovery twrp.img
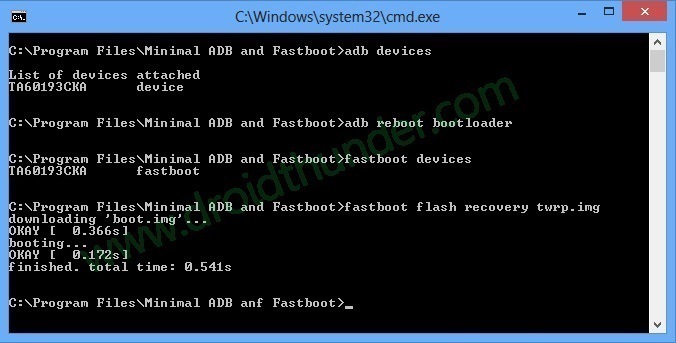
- This will initiate the Samsung Galaxy M10 TWRP recovery installation process. It will hardly last for a few minutes.
- Finally! This is how you can install TWRP recovery on Galaxy M10 using ADB and fastboot commands.
Method 2: Odin Tool
In this method, we’ll use Odin software on a Windows computer. Here, we’ll simply flash the custom recovery using the AP tab present on the Odin tool.
Downloads
Steps to install TWRP Recovery on Galaxy M10
- Download both the files on your PC.
- Power off your phone.
- Then boot it into downloading mode.
- To do so, press and hold the Power button+ Volume down button simultaneously.
- After that, connect your phone to the PC using a USB cable.
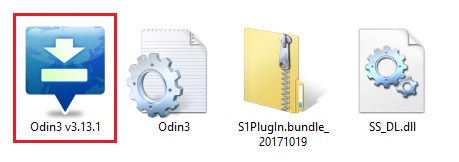
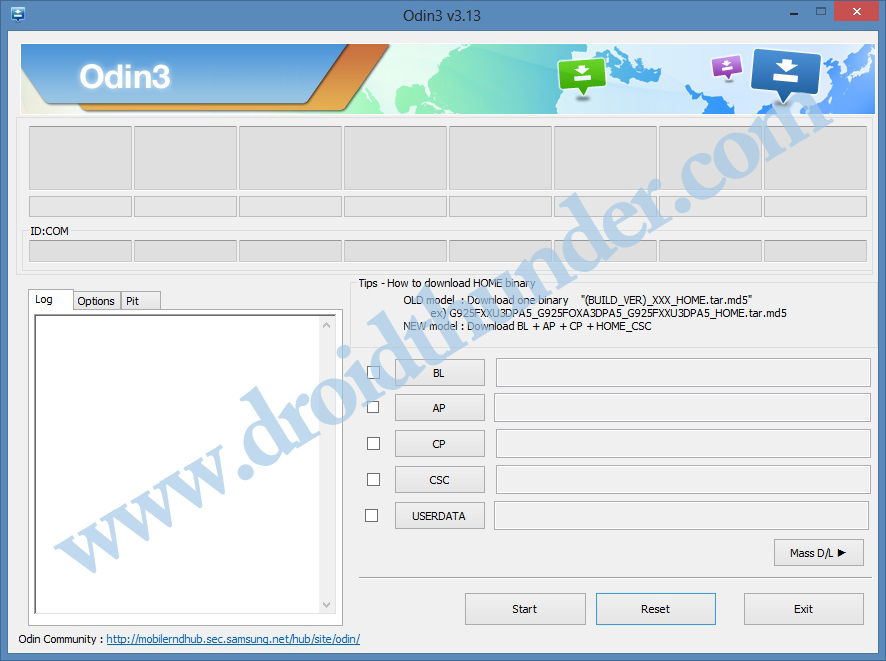
- On your PC, launch the downloaded Odin flash tool.
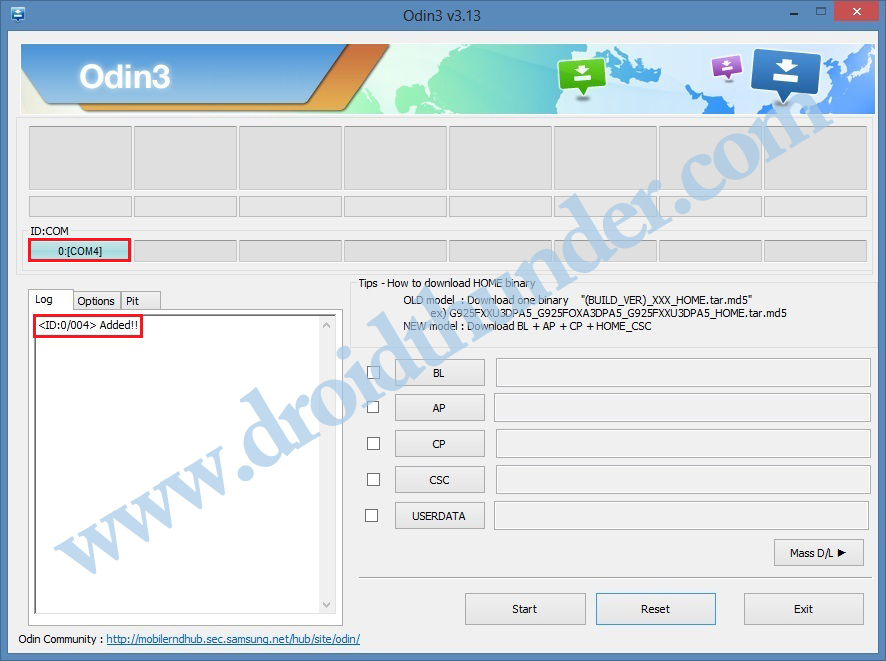
- In Odin, the ID: COM section will turn blue.
- Also, an Added message will show.
- This will confirm that your Galaxy M10 is successfully connected to the PC.
- If such a thing doesn’t happen, then again install the Samsung USB driver as well as the ADB drivers. If the problem persists, change the USB cable or the USB port.
- Moreover, tick the Auto Reboot and F.Reset Time options.
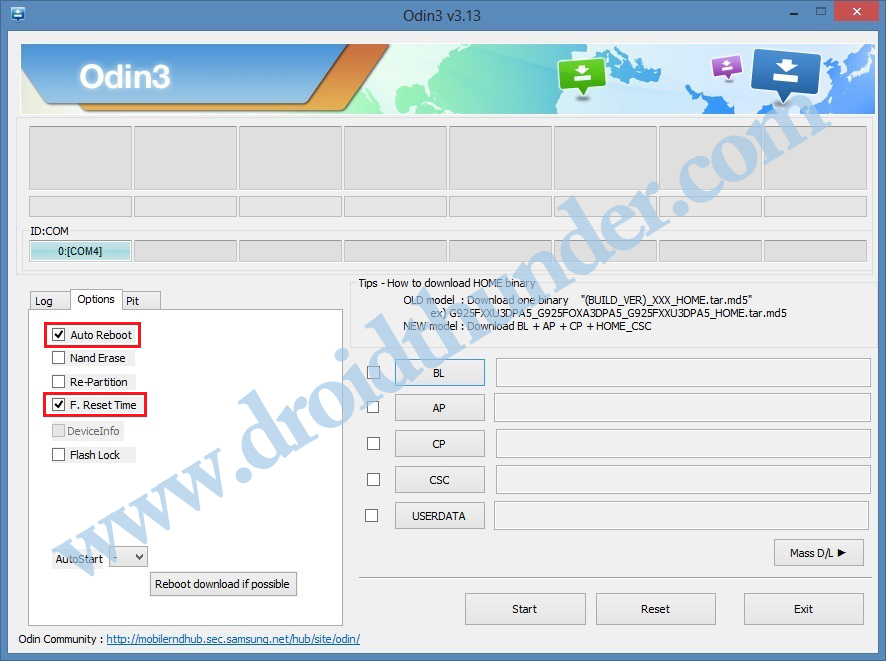
- Do not tick Re-partition, Nand Erase, or any other options.
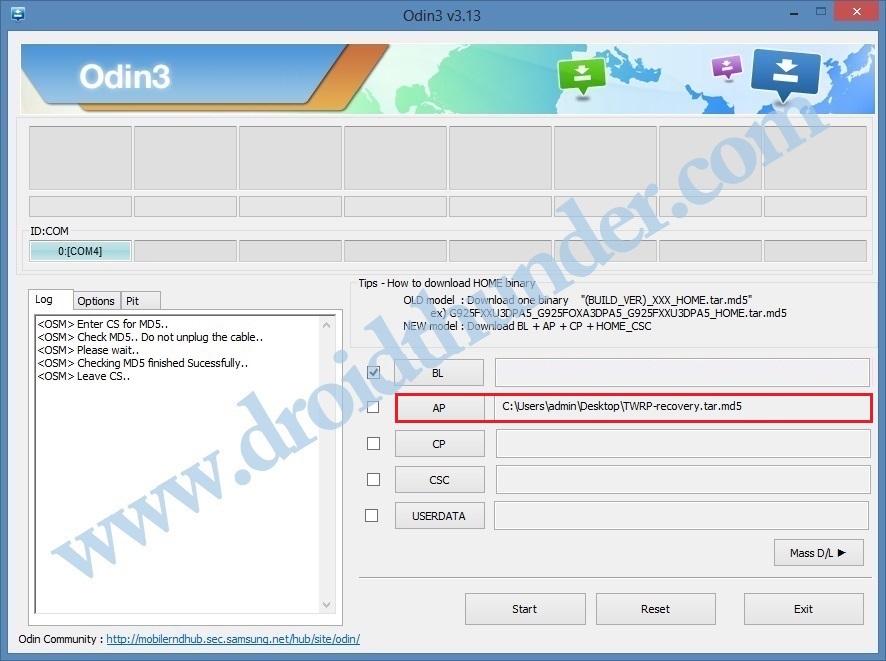
- Just tap on the AP button and select the downloaded TWRP recovery.tar.md5 file.
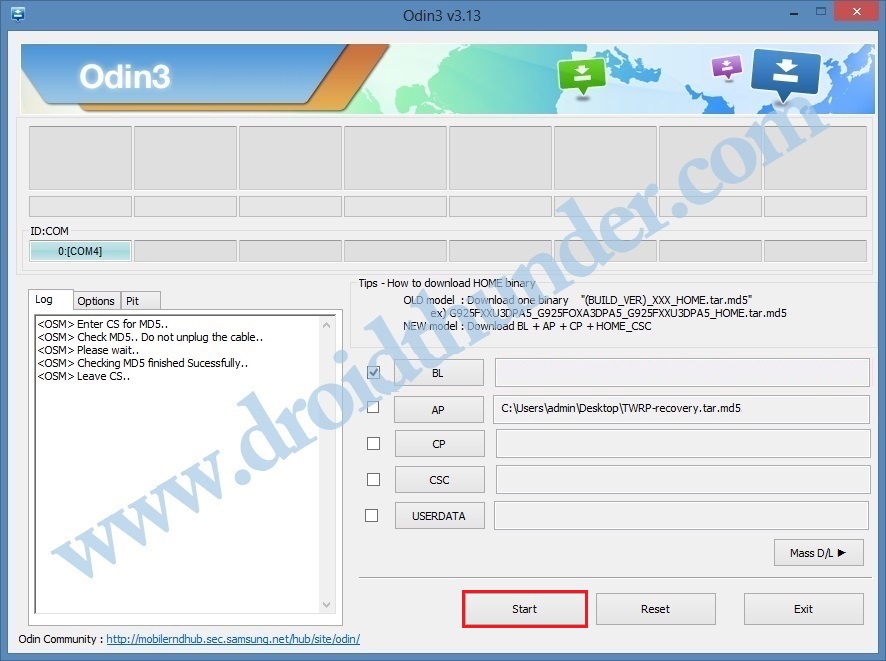
- Let’s start the Samsung Galaxy M10 TWRP recovery flashing process now.
- To do so, click the Start button present on the Odin tool.
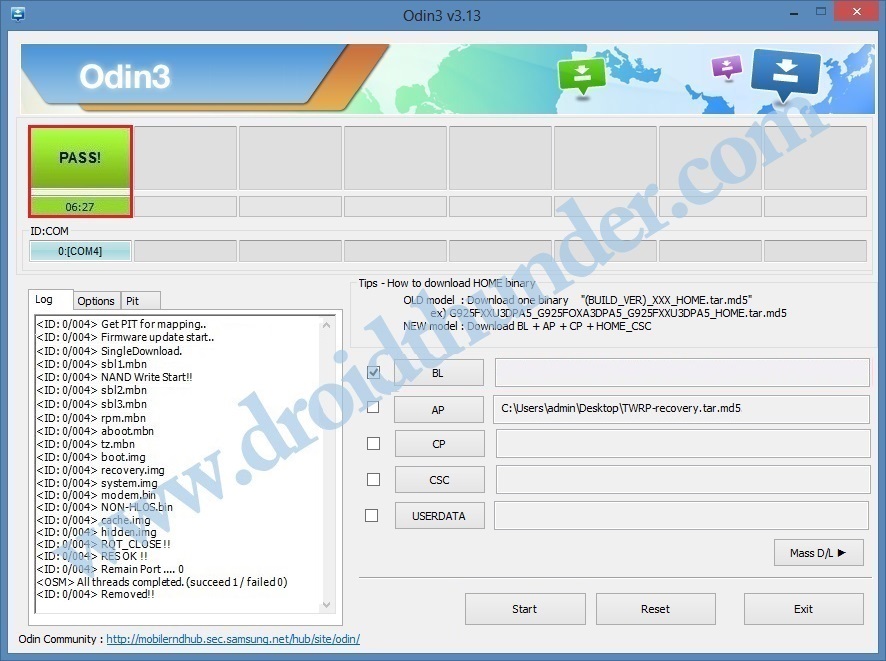
- Wait until the TWRP recovery Galaxy M10 flashing process finishes.
- As soon as it completes, the ID: COM section will turn green with a Pass message.
- If Odin fails, then close everything, again boot the phone into download mode and repeat the complete procedure.
- Finally! You’ve successfully installed TWRP recovery on Samsung Galaxy M10 using the Odin flash tool.
Steps to Boot Galaxy M10 into TWRP recovery mode
- Power off your Samsung Galaxy M10.
- Press and hold the Volume up key + Power button simultaneously. As soon as you see the TWRP logo, leave both the keys.
- If you are not able to reboot the phone into recovery, use the Reboot Recovery app from Google Play Store.
Conclusion:
I hope this tutorial helped you to install TWRP recovery on Samsung Galaxy M10 SM-M105F and SM-M105DS smartphones. If you have issues related to this guide then without any hesitation let us know via the comment box below.
Credit: XDA


1 thought on “How to Install TWRP Recovery on Galaxy M10”
booting into twrp recovery is very confusing, consider explaining which buttons to press.