If you are a fan of Bitmoji, you would be happy to know that you can now use a customized Avatar on Facebook and Messenger. A few weeks back, the social media giant rolled out its new Facebook Avatar feature worldwide. The company calls it a way to share expressions and emotions through a digital persona that represents your unique appearance.
Facebook Avatars were first introduced in 2019 and have been since made available in the UK, New Zealand, Canada, and Australia. If you are tired of using the same old emotions and reactions to Facebook posts, then try these customizable Avatars. With your own personal Facebook sticker, you can now express yourself a little differently as well as spice up your social media content.
What is Facebook Avatar?
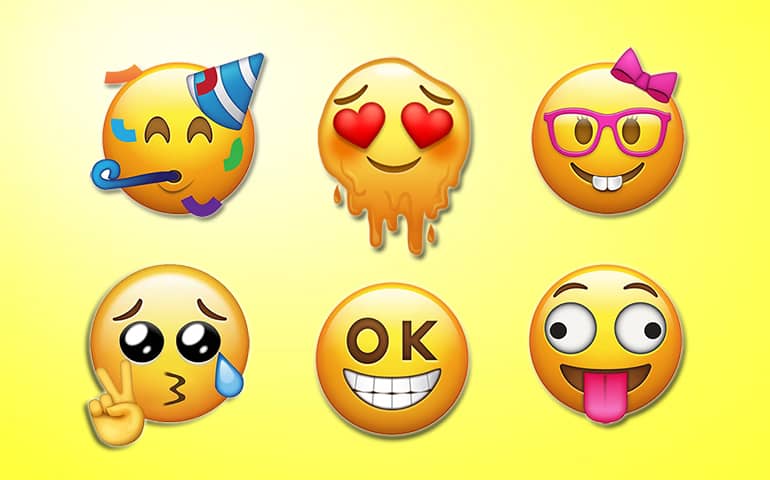
Facebook Avatar is nothing but your own personal emoji or an expressive cartoon avatar. This personalized cartoon character of yourself is similar to Snapchat’s Bitmoji and Apple’s Memoji or Animoji Avatars. These Avatars can be used in Facebook profile pictures, stories, messenger chats, comments, and gaming profiles. You can also use them as stickers in various apps like Snapchat, Instagram, and Twitter.
Related:
This new feature will allow you to add some personalities to your stories and also the conversations in your comments. And it’s a great way to just be you on this social media platform. Several Facebook Avatar creator apps help you to create cartoon characters from photos. However, they would not make an impact on this Facebook feature. In this article, we’ll guide you on how to make your own Facebook emoji avatar.
Things to do before going ahead
- Install the official Facebook app LATEST version on your Android device.
- Sign In using your registered email ID and password.
- If you don’t have an account, click on Sign Up and create one.
Steps to Find the Facebook Avatar option
You can use either of the two methods given below to find the Avatar option on Facebook.
Method 1
- Go to your own Facebook profile section.
- Scroll to any recent post.
- Click on comments.
- Tap on the Smile icon in the right corner.
- And the Make your Avatar prompt should come up right away.
Method 2
- From the Facebook homepage, click on the ≡ option present at the top right corner.
- Or simply swipe right a few times to enter the menu settings.
- Now, scroll down and click on See More.
- Here, search for an option called Avatar and select it.
- You’ll find it below the Ads Manager option.
How to Fix Facebook Avatar Not Showing Up in Menu
Why don’t I have a Facebook Avatar yet? Why is my Avatar not showing up on Facebook? If you have the same questions, then don’t worry, we are here to help you out. Follow these simple steps to solve the problem of the Avatar option not being available in the Facebook Menu.
- Ensure that the Facebook app is updated to the latest version.
- If one of your friends shares their Avatar on Facebook, you’ll find a Try It button in the lower right corner of that post.
- Use a VPN app and change your location to the UK, then launch the Facebook app. This will make the Avatar option appear in the menu settings.
If you’ve tried these methods and the Avatar option is still missing from your account, then be patient. Last week, the head of the Facebook app said that the characters are still being rolled out.
Steps to create Facebook Avatar on Android
You can easily make Avatars a bit more realistic like your personal appearance or make them funny, cute, and cartoony. Let’s check out a detailed step-by-step guide to make Facebook Avatar.
Step 1: Customize your Facebook Avatar
- Open the Avatar section.
- Click on Next to personalize your Avatar with skin tone, hairstyles, outfits, and more.
Step 2: Select Skin Tone
- At first, you’ll have to choose a particular skin tone as per your choice.
- There are a total of 27 skin tone options to select from.
- After selecting your preferred skin tone, click on Next.
Note: To create your exact Avatar, you don’t need your photo or a profile picture. There is a mirror icon in the top right corner. Just tap on that icon and it will open your phone’s front camera. Now, you’ll be able to look at yourself in a little rectangle while you choose facial features. This way you can try to mimic the Avatar as much as you can with how you currently look.
Step 3: Select Hairstyle
- The next step in creating the Facebook Avatar is to choose the hairstyle.
- You can select Short, Medium, or Longhairs as per your preference.
- Then it’ll show a variety of hairstyles as per the selected length.
- Once you choose a particular hairstyle, click on the Color icon.
Step 4: Choose a Hair color
- Click on the nest section which is the color of your Avatar’s hair.
- It’ll show you a variety of color options that are currently available.
- Just tap on your favorite hair color.
Step 5: Select Face shape
- The next step is to choose the face shape for your Facebook avatar.
- Choose a shape, complexion, and face lines that you think are, you know, appropriate to how you look.
Step 6: Choose Eye Shape, Eye color and Makeup
- After customizing your Avatar face, let’s move to the Eye icon.
- Select an eye shape, which you think is closer to you.
- Similarly, select a particular eye color from the various available options.
- Additionally, you can also select the length of your Avatar’s eyelashes.
- A little bit of lash can make your Avatar look cute!
Step 7: Select Eyebrow Shape and color
- Furthermore, choose an eyebrow shape as well as a color, which you think is appropriate.
Step 8: Select Eyewear
- You can also add accessories like eyeglasses to your Avatar character.
- It’ll show a variety of selections to choose from.
Step 9: Select the Nose, Lips, and Lip color
- Let’s customize the Avatar’s nose and mouth now.
- Choose a nose shape that you think is perfect.
- Moreover, select lip shape and if you are a girl, you can go for the lip color.
- Besides, there is also an option to add facial hair.
Step 10: Select Body shape
- Choose a particular shape of the body from the variety of available options.
Step 11: Select Outfit style
- Finally, you can choose a costume for your character.
- For now, it shows limited options for clothing.
- But more options will be soon added.
- Besides, you can even add a hat, scarf, or cat ears to your avatar’s outfit.
Step 12: Finishing the Avatar
- Once you have finished customizing your Facebook Avatar, click on the checkmark icon, placed on the top-right corner of the screen.
- And then tap Next and Done.
- And there you have it.
- Your avatar will be instantly created. It’s really that simple.
- You neither need to install any third-party Avatar creator app nor need to upload photos or give Facebook any access to your data.
How to use Facebook Avatar
- When you are ready to use the avatar, go to the comments section.
- Then just click on the smiley face next to the gif icon.
- Click the avatar icon button on the bottom of the screen.
- This will show you all the different personality options that are available for use.
Note that this latest Facebook update was recently launched in the US. While two weeks back, it was first launched in Europe. So if you don’t see the Avatar feature yet, just make sure that you have the latest version of the Facebook application installed on your Android phone. Finally, if you have any questions related to this tutorial, then feel free to comment below. Thank you!