Installing Windows on an external SSD or USB storage helps when you want to carry it in your pocket. Also, it becomes convenient to try out new things with a plug & play setup.
Now, Windows installation on external storage is not as straightforward as a traditional way. Normally, for a clean installation, we boot up the installation disc from BIOS and install windows from there. But, if you try to install Windows on an external SSD, you’ll get a message like this:
Windows can not be installed on this disk. Setup does not support configuration of or installation disks connected through a USB or IEEE 1394 port.
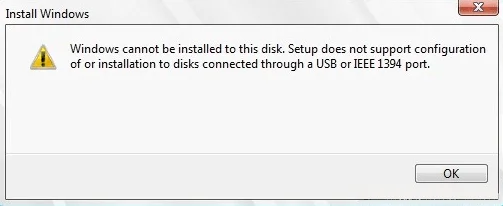
When I was trying to install Windows 11 on my Samsung T5 SSD for the first time, I got the same message as above. I started searching for the workaround and came across a tool called WinToUSB.
WinToUSB is an amazing tool that copies data from Windows 11/10 ISO to your external SSD and makes it bootable. Thus, cutting off all the hassles for you to manually install a clean copy of Windows.
Pros & Cons
- Portability: Useful when you just want to have a plug&play setup.
- You can test Windows Beta/Developers updates and do whatever you want, without having to worry about the damage it may cause.
- Dual-booting: You can run 2 operating systems alongside each other.
- Licensing problems might occur when you move the USB SSD between different machines.
- It’s not as reliable as having Windows installed on an internal SSD. It can probably result in the corruption of data.
- Speed can be an issue if you use any other USB storage than SSD.
Steps to Install Windows on External SSD/Storage
- Download the latest Windows 11 ISO.
- Download WinToUSB software.
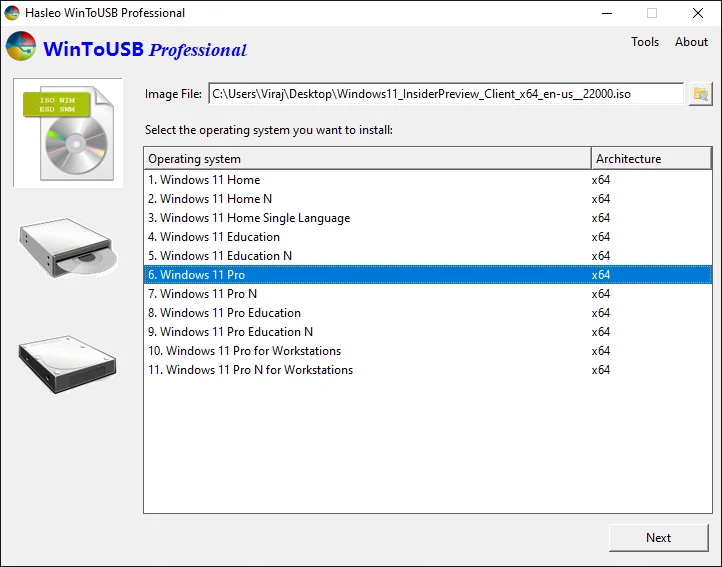
- Open WinToUSB and locate the Windows 11 ISO File. Select whichever Windows version you want to install. For this tutorial, I have selected Windows 11 Pro.
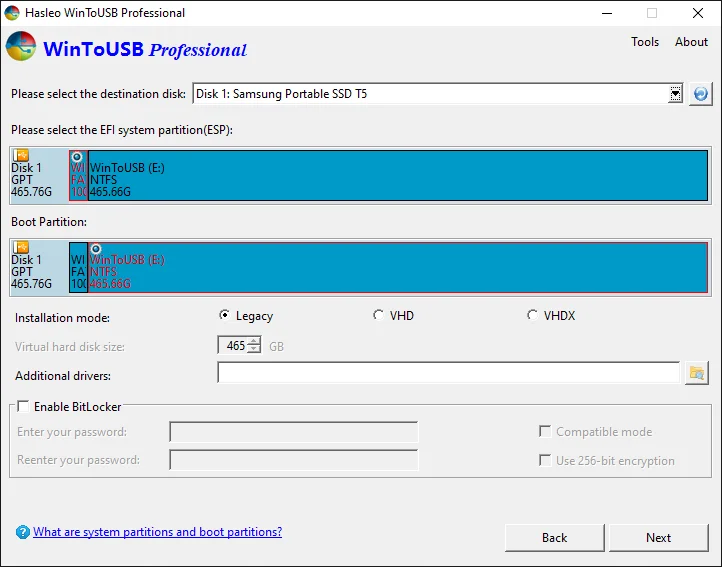
- Select GPT for UEFI as a partition scheme and click on the yes button.

- Wait while WindowsToUSB formats the external storage disk.

- Keep Installation mode as Legacy. If you want to enable BitLocker, then tick Enable BitLocker and enter the password for BitLocker encryption. Click Next.
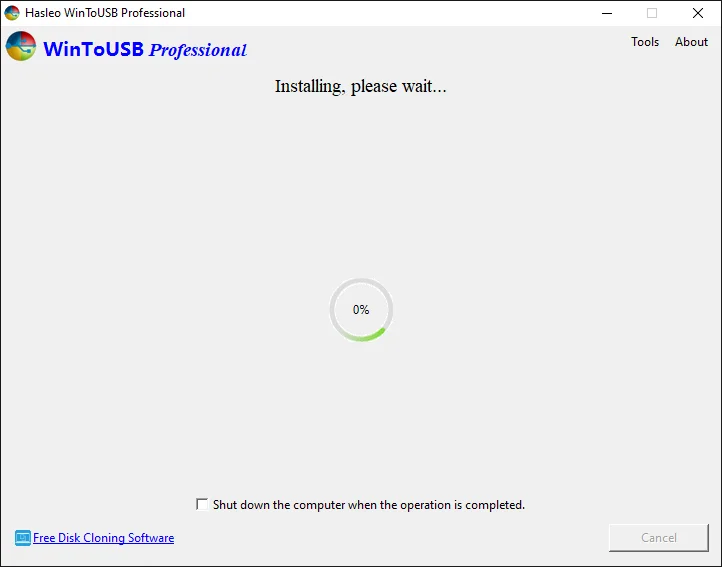
- Wait while WinToUSB copies data from Windows ISO to your SSD and makes it bootable.
- Once WinToUSB finishes copying Windows, it’s time to boot the disk. For that, turn off your computer and boot into the BIOS. Press the F2 key to open the BIOS interface. On most systems, this works, but it can vary with your motherboard.
- In BIOS, search for the boot priority settings. Change the boot order by moving your external USB storage / SSD to the first spot. Save the configuration and restart the PC.
Well, that’s it, folks! When the system boots up, a warm welcome from Windows shall appear on the screen.
In case of any issues, do drop a comment below and I’ll be happy to answer your queries.




5 thoughts on “How to Install Windows 11 on External SSD or USB Storage”
Absolutely the best method ever 🙂
Yes, it is.
Guten Abend,
informatives Tutorial, alles gemacht wie beschrieben, aber leider tut sich nichts.
Nach Änderungen des BIOS und Neustart blinkt der Cursor links oben fröhlich daher, aber kein es erfolgt kein Bootvorgang.
Schade…
Grüße, Bernd
Not so. Windows will not install to an external USB connected drive no matter which method you use. Going through this whole process will simply take you back to: Windows can not be installed on this disk. Setup does not support configuration of or installation disks connected through a USB or IEEE 1394 port. The only way is to replace and install the drive internally in your PC.
Hello Jim,
Thanks for your comment. I request you to read the article from the top. I am sure you must have missed the whole point of the article.