Recently, Google announced Android 12L for multiple form factor devices, including phones, tablets, foldable and Chromebooks. Earlier, Google had abandoned the tablet form factor, but with the recent success of foldables, tablets are back in the business again. As usual, the update will roll out in a phased manner, which means few of us might need to wait for OEMs to push updates on our phones. We all are excited to try it out and can’t wait till our devices get the update. But on the other side, why wait when you can install and run Android 12L on your Windows PC and Mac right now. Well, performance might not be as good as you would get on phones, but it’s worth it when you want to get an early taste of Android 12L. So, let’s dive deep and learn how to use Android 12L on Windows PC and Mac.
Install and Run Android 12L on Windows and Mac (2022)
In this guide, we have included detailed steps to install Android 12L on Windows PC and Mac. I would suggest you look at the table below. Based on the OS you use, you can jump to any particular section.
Not to be missed: How to install and run Android Apps on Windows 11?
Android Studio Installation
There is only one requirement to run Android 12L on Windows 10/11 or Mac. That’s Android Studio. Just get the latest Android Studio Canary version to try out the Android 12L emulator on your PC. All below steps remain the same for both Windows and Mac. In this article, we will perform tests on a Windows machine.
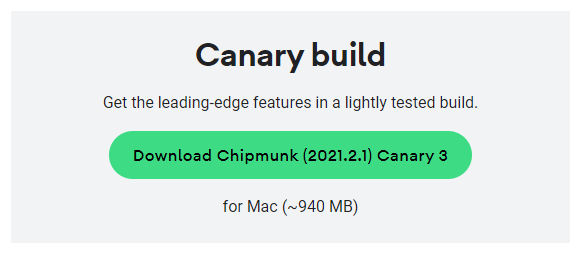
Step 1 – Download the latest Canary build of Android Studio. It will automatically detect your OS and let you choose a setup file – ZIP for Windows or DMG for macOS.
Download Android Studio(Canary Build)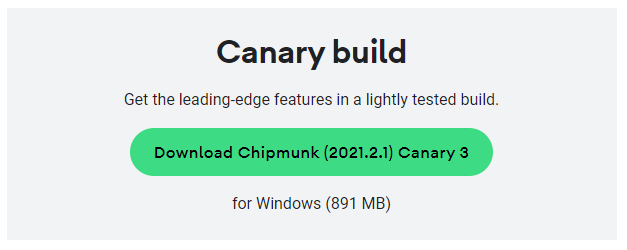
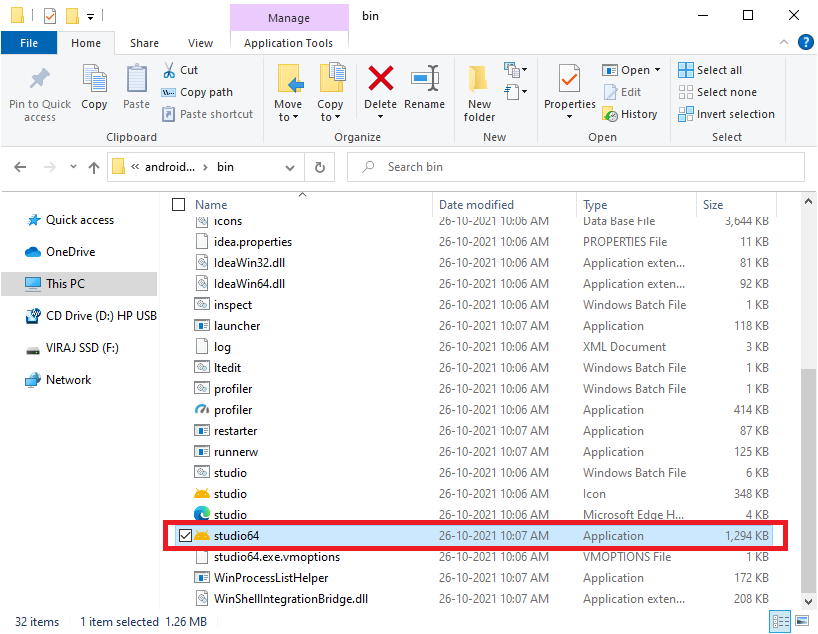
Step 2 – After downloading the file, Windows users need to extract the ZIP file. Upon extraction, open the “bin” folder and double-click the “studio64.exe“ application file to launch Android Studio. Mac users can drag Android Studio to the Applications folder.
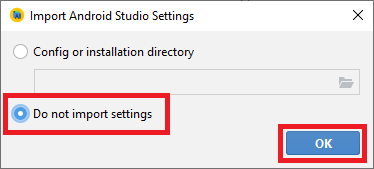
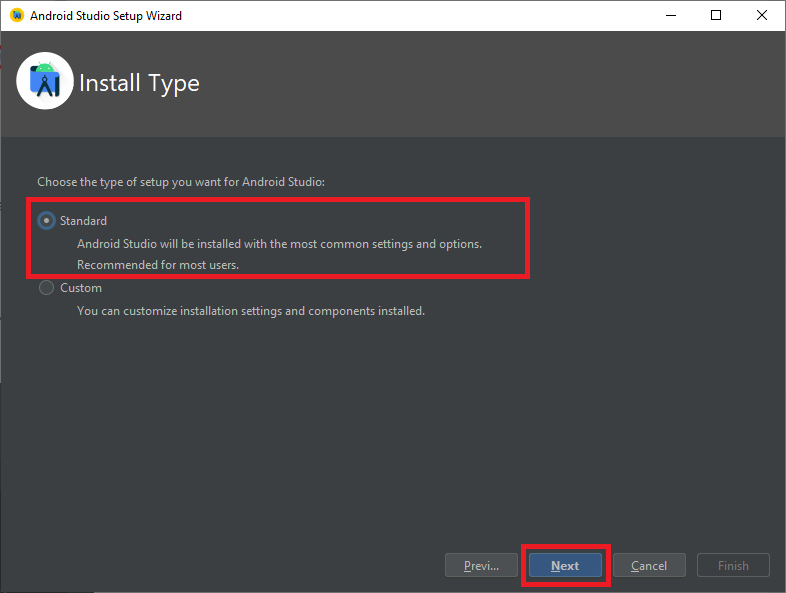
Step 3 – Since we are running Android Studio for the first time, an import settings popup will appear. Select “Do not import settings” and press the OK button to proceed. Further, choose the setup type as Standard and click the Next button.
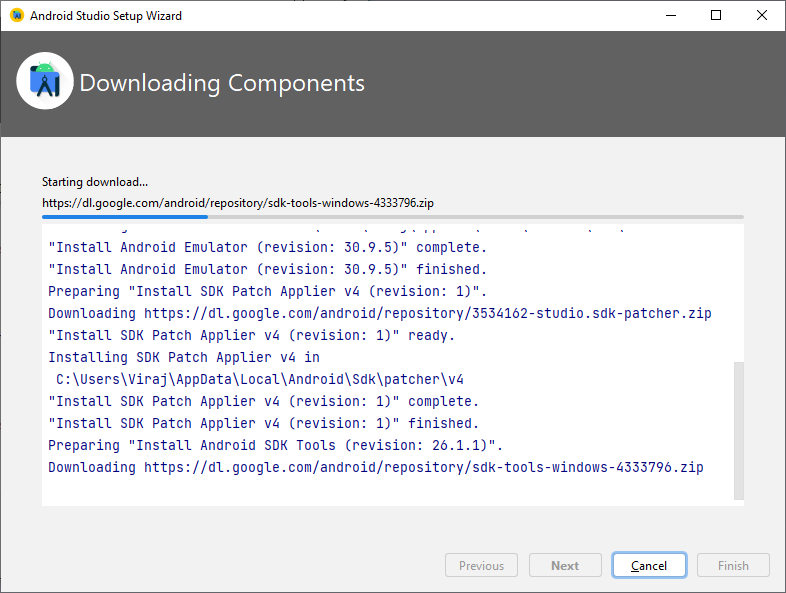
Step 4 – Now, keep everything as default and click on “Next“ till the setup is complete. During the installation, Android Studio will download some components from the internet.
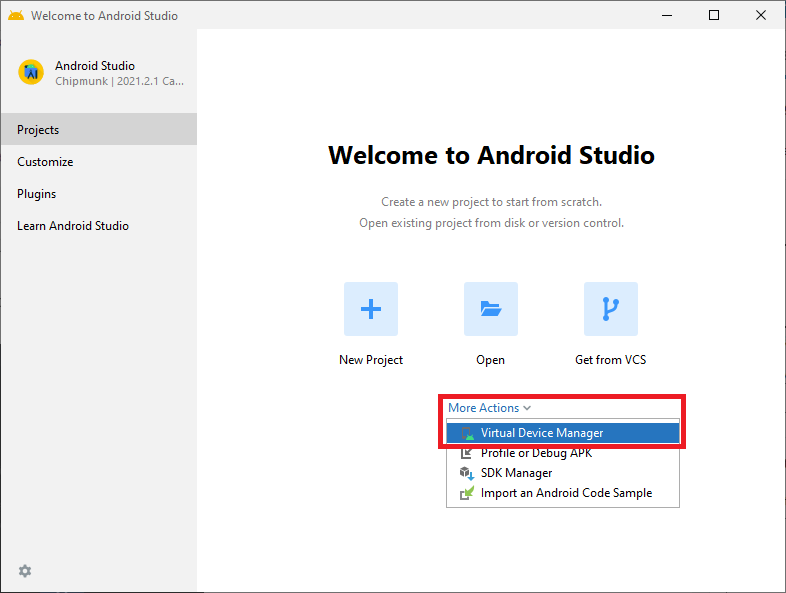
Step 5 – After the installation and component download completion, click on the “More Actions” button and choose the “Virtual Device Manager” option.
Emulator Setup
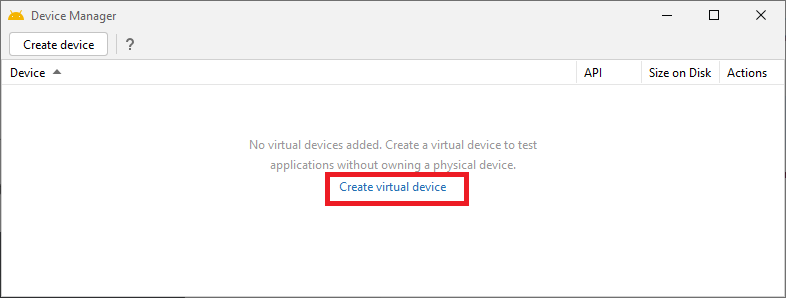
Step 1 – Next, click on the “Create virtual device” link visible at the center of the screen. It will open a list of device definitions.
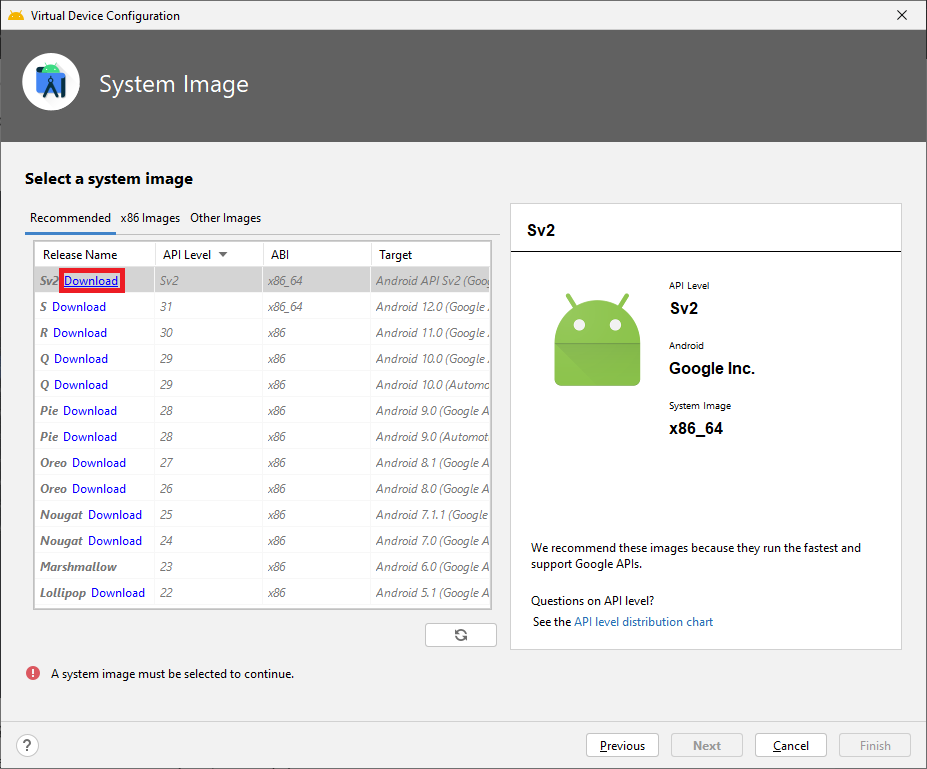
Step 2 – Select the “Tablet” section from the left side under “Category” and choose “Nexus 9” or “Pixel C” device. You can also choose between 3 “Foldable” options from the “Phone” section. Click “Next” for System image selection.
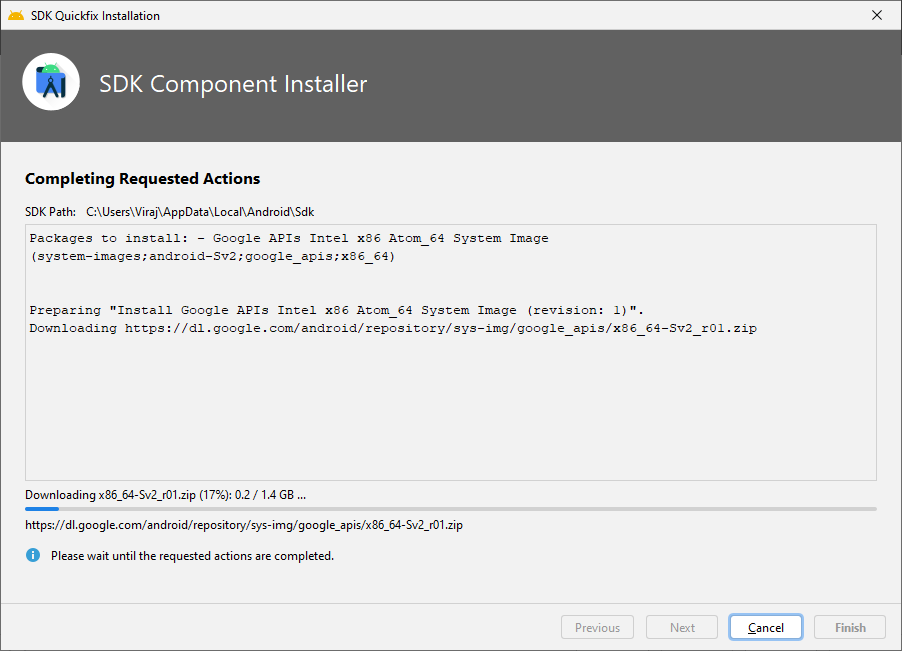
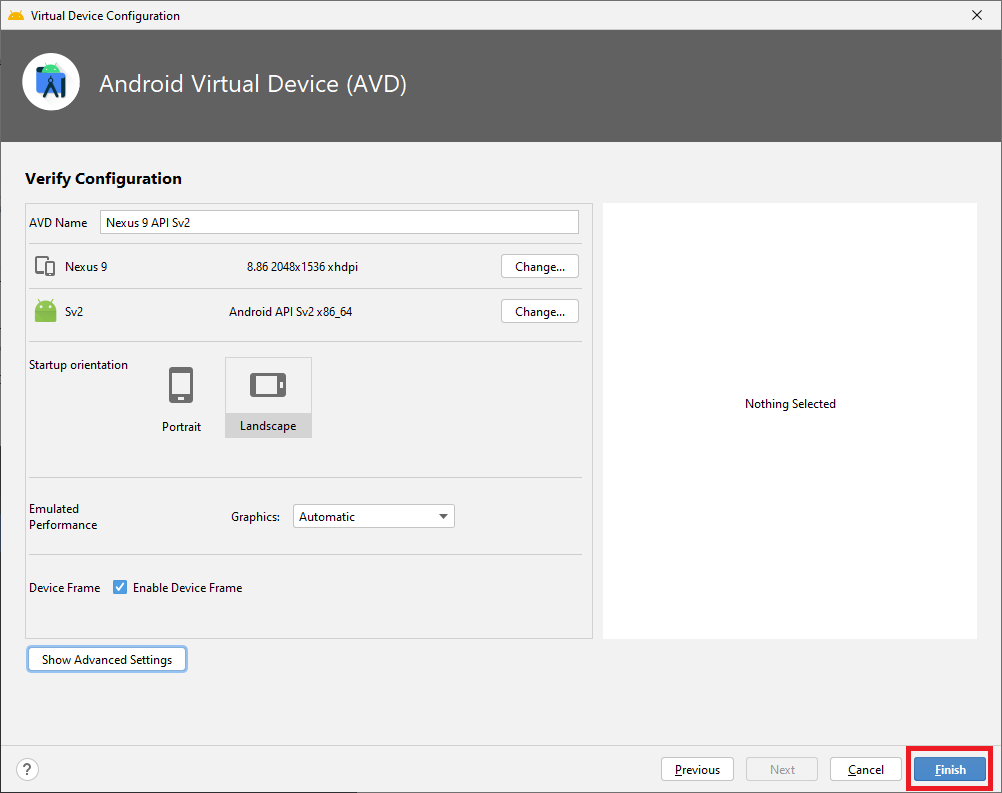
Step 3 – On this window, click on “Download” next to Sv2. This page is where we are selecting the latest Android 12L that we are going to test. The file size is around 1.4GB, so be patient. Once downloading is complete, click on the “Finish” button.
Step 4 – Close all windows except the “Device Manager” (shown in Step 1). Again, click on the “Create virtual device” link, select Nexus 9 and Sv2 system image. Finalize the device setup by pressing the “Finish” button.
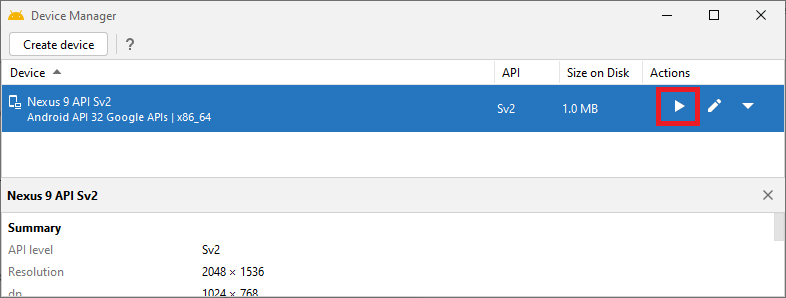
Step 5 – From the same Device Manager window, click on the “Play” button under “Actions” to boot up the Nexus 9 device we added in previous steps.
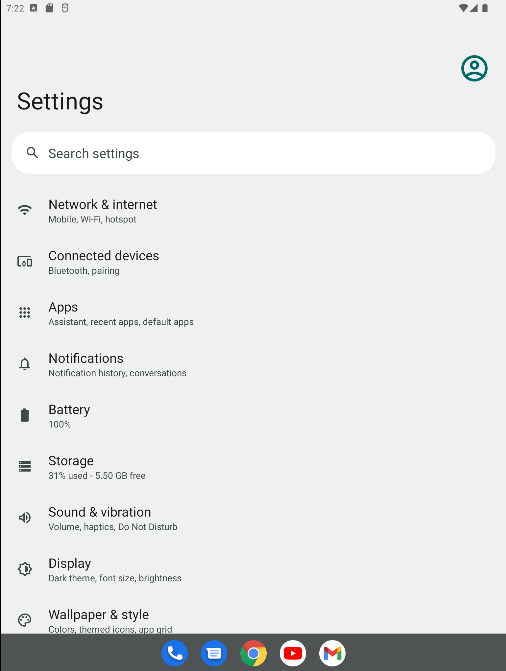
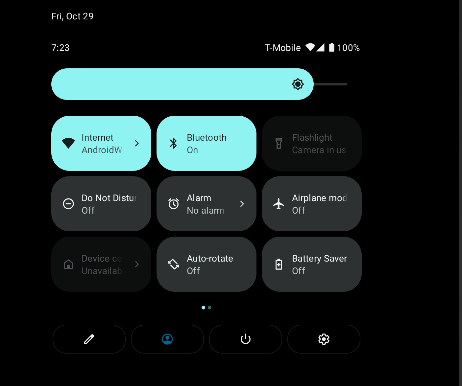
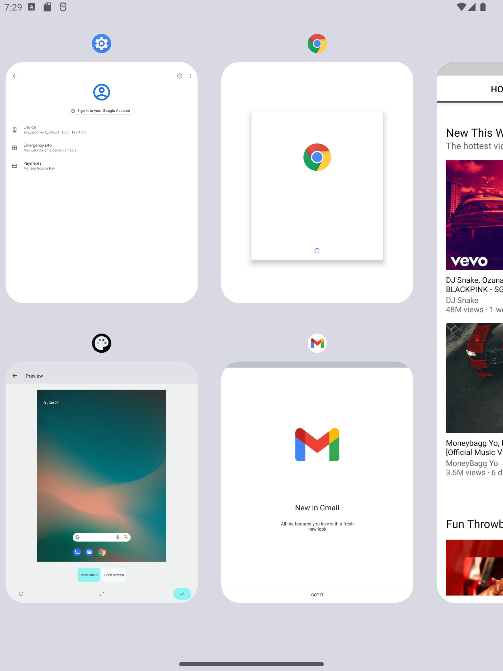
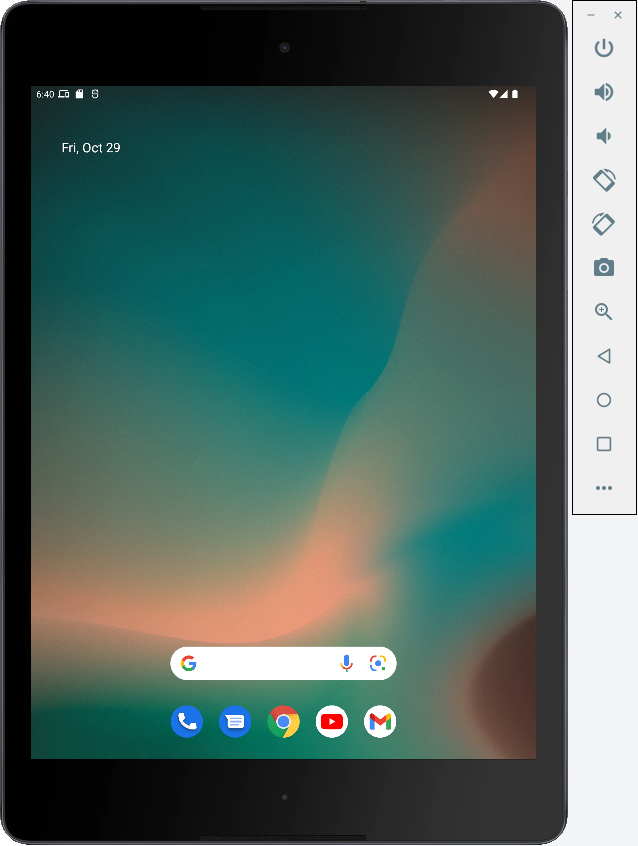
Step 6 – And there you have it! The all-new Android 12L emulator will load on your Windows PC or Mac right away. All of the emulator controls will come up next to the table. From there, you can customize Android 12L settings as per your likings.
Check out some of these new Android 12L multitasking and UI features in action:
Experience New Features in Android 12L
So that is how you can set up Android Studio and run the Android 12L emulator on your Windows or Mac PC. Currently, we have covered a new tablet and foldable-friendly version of Android 12, but soon, we will try installing the OS on a phone form factor like Pixel 4 as well. That’s all from us in this tutorial. Do let us know if you have any questions in the comment section below.