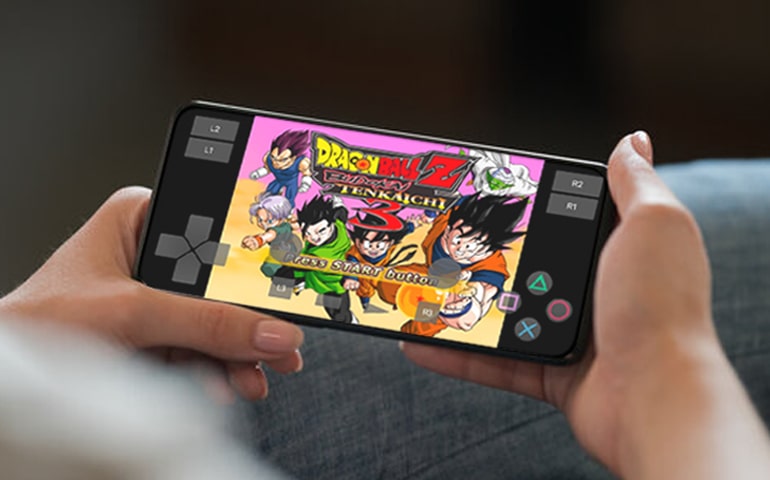
PUBG Mobile or Battlegrounds Mobile India (BGMI) is the most popular game nowadays. Youths, in particular, have developed great affection towards these sorts of shooter & multiplayer games. I will be lying if I don’t count myself among the gang. I have played PUBG on my phone since it launched back in 2018. Having played enough on the mobile, I wanted to try PUBG on PC. I installed the popular Android Emulator BlueStacks and attempted to install the game. But despite multiple attempts, I couldn’t get past the launch screen.
I even installed Chrome OS on my PC to tackle the issue, which has an in-built Play Store but faced the same problem. On a side note, I must say that Games run way smoother on Chrome OS than they would on the phone.
Later, I realized that I was doing it wrong and finally discovered how to get PUBG up and running on my Windows PC using BlueStacks.
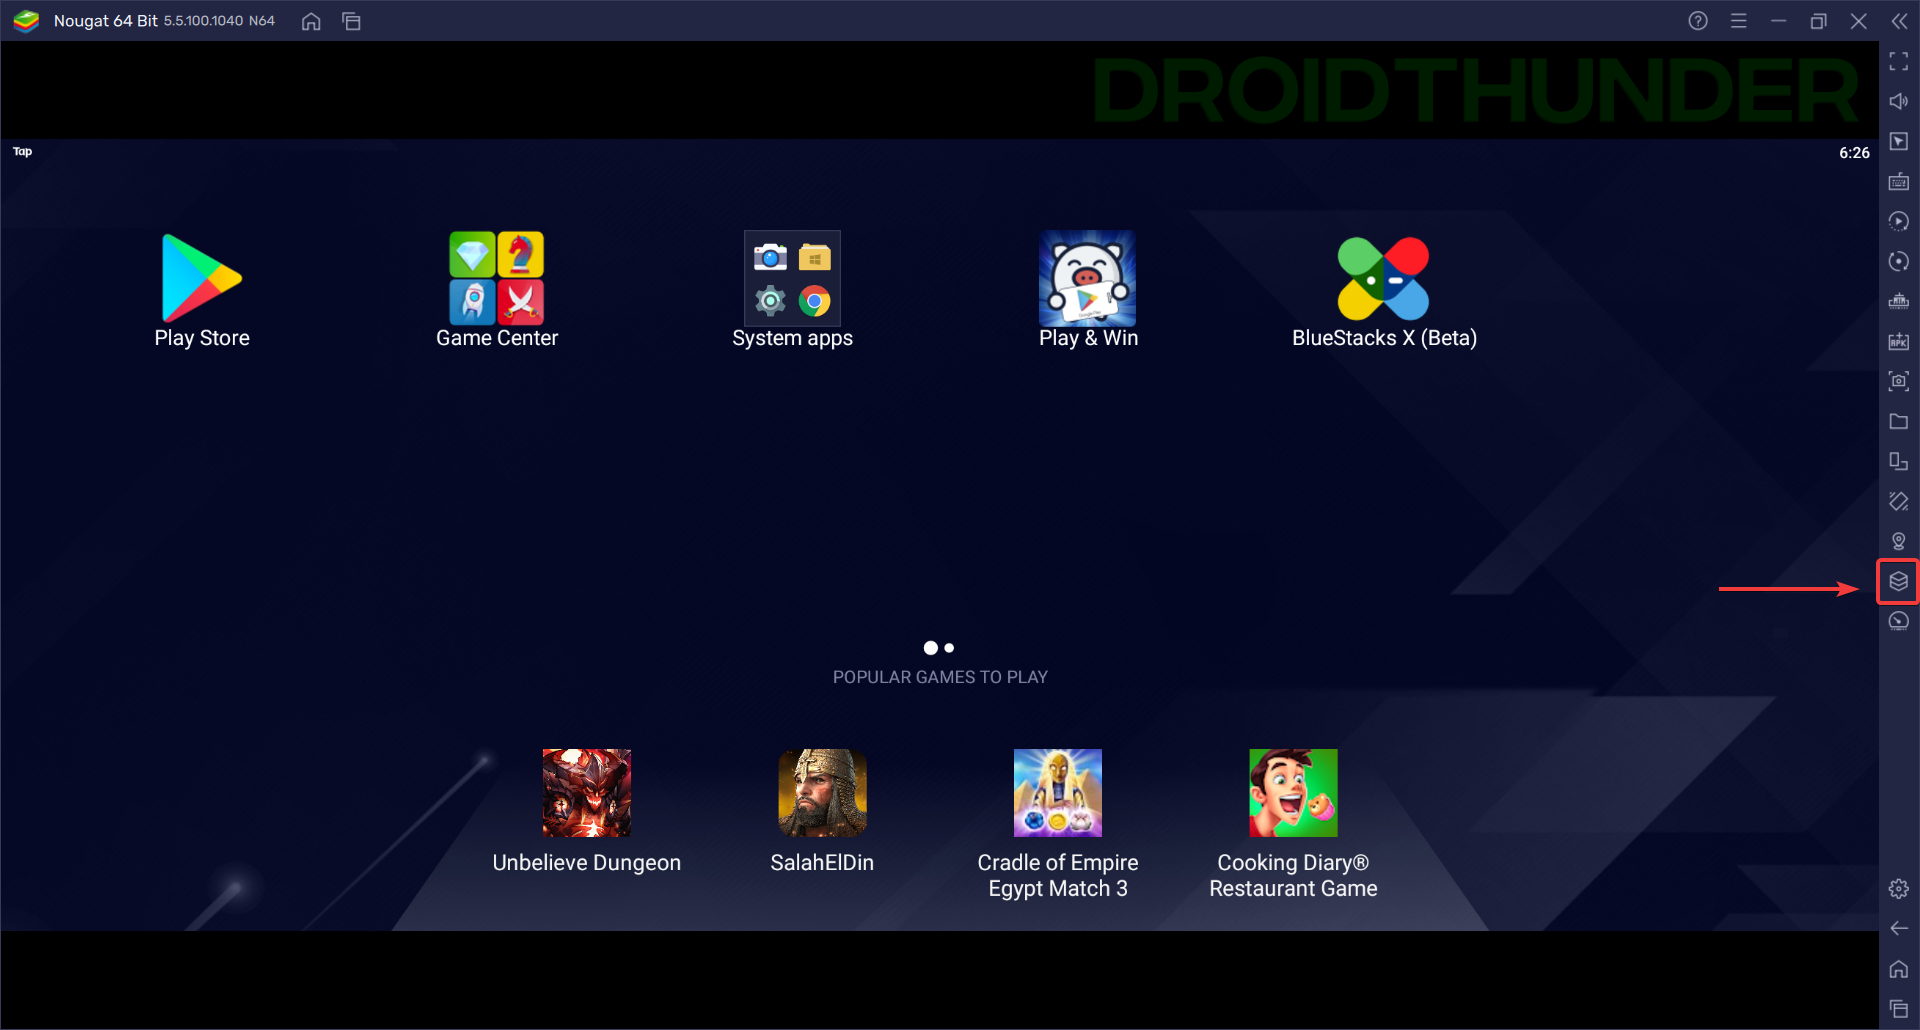
Run BGMI & PUBG Mobile on Windows PC
To accomplish this task, you need to make a few changes to your Windows PC, including rebooting the PC and the BlueStacks emulator. Read on further to know about it all.
Disable Windows Hyper-V for PUBG Mobile/BGMI
Hyper V is a virtualization software mainly used for running virtual machines. Microsoft has pre-included it in all Windows versions except home editions. So, if you are using Windows 10 or Windows 11 home editions, you can skip this part and straightway go to the BlueStacks installation.
Now, you must be wondering why there is a need to disable Hyper-V feature? Well, BlueStacks is an Android emulator software and can run multiple instances of Android at once. It offers to create both 32-bit and 64-bit instances. As per BlueStacks, PUBG Mobile & BGMI runs smoother and lag-free with a 32-bit instance of the emulator. To create Nougat 32-bit instance, you must disable the Hyper-V feature of Windows.
Follow the steps given below for disabling Hyper-V and related Windows features.
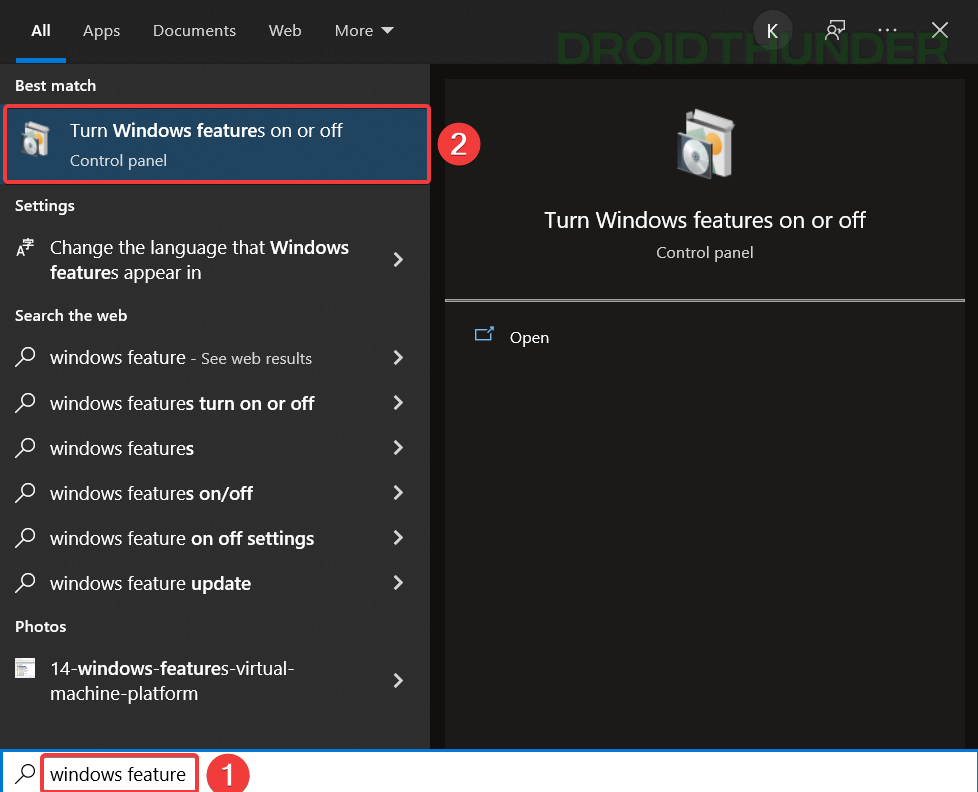
- Press the Windows key and type Windows features in the search box. Click on Turn Windows features on or off application.
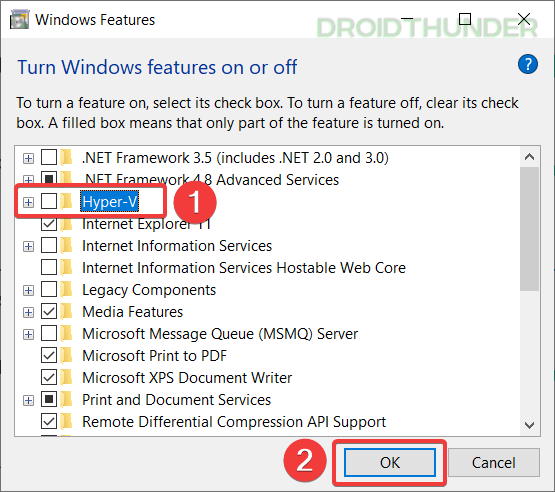
- Uncheck the Hyper-V feature from the list and press the “OK” button. Restart your Windows PC for changes to take effect.
BlueStacks Emulator Installation
Now that you have disabled the Hyper-V feature, you are ready to install the BlueStacks emulator and create a 32-bit instance within. Steps to install BlueStacks are as follows.
Do you know? You can run Android OS on Windows PC. Click to learn how.
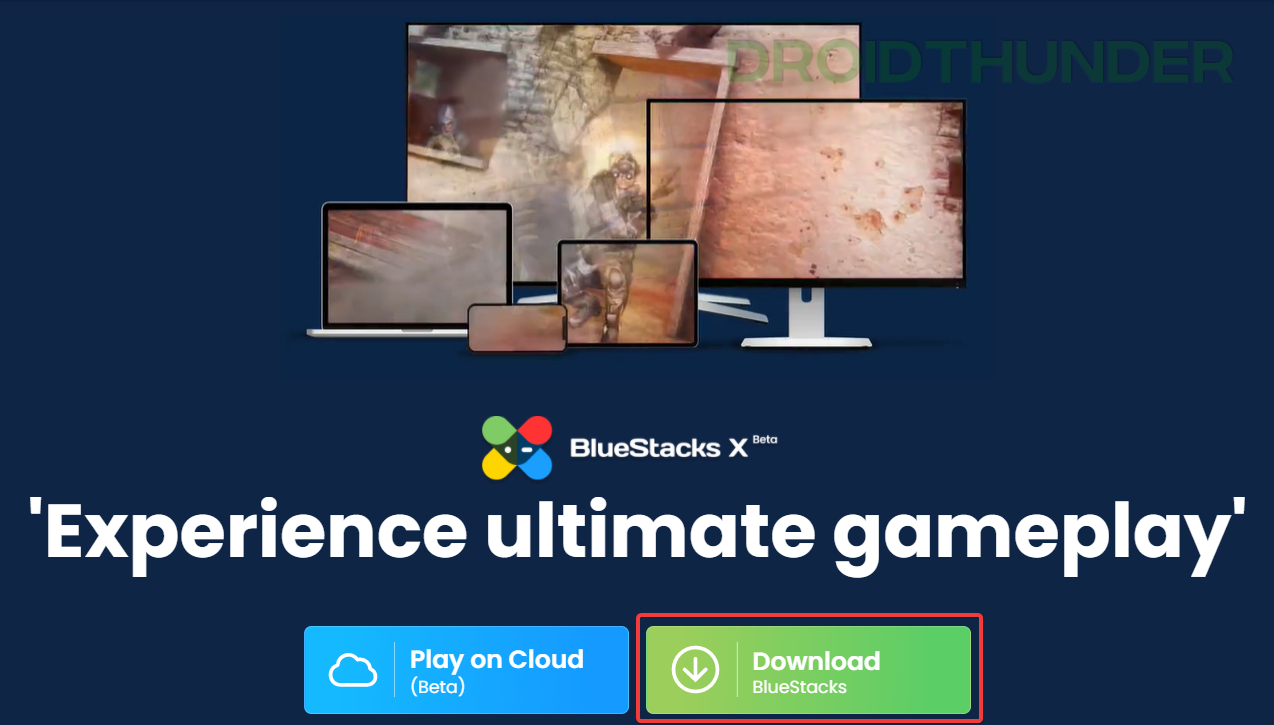
- Download BlueStacks from their official website. Once downloaded, run the .exe file. Further, the installer will download the BlueStacks setup (~700MB) from the official servers.
- Run the BlueStacks application and open Play Store. Sign-in to your Google account.
Create BlueStacks Nougat 32-Bit Instance
To run PUBG Mobile & BGMI lag-free, we will create a 32-bit instance in BlueStacks. The steps are as follows:
Not to be missed: How to Install and Run Android Apps on Windows 11 without using BlueStack
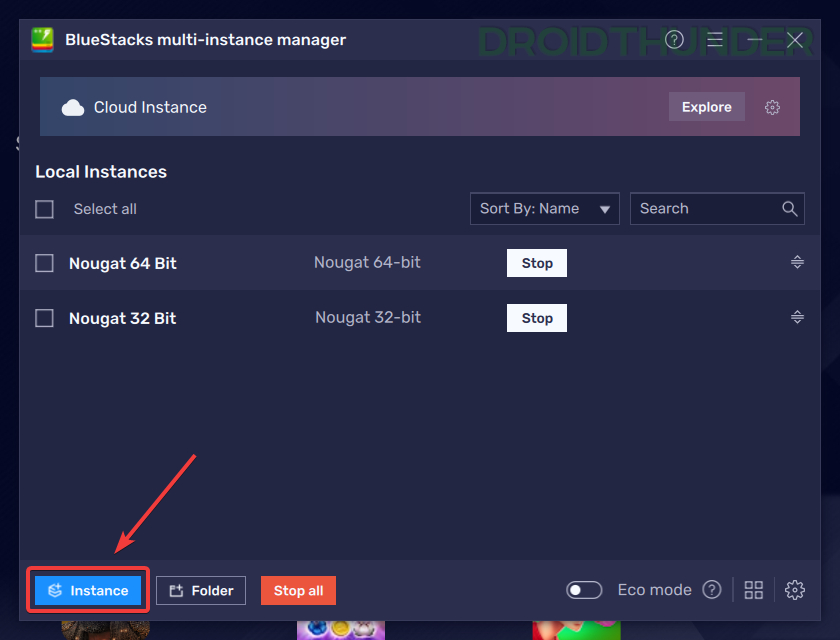
- Open the BlueStacks application and navigate the Multi-Instance Manager from the right side menu. Alternately, you can use Ctrl + Shift + 8 key combination within BlueStacks.
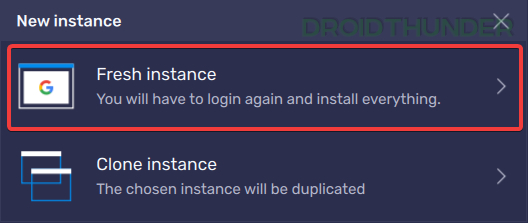
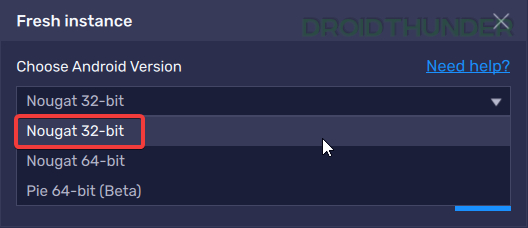
- Click on the Instance button and select Fresh instance. Under the ‘Choose Android Version’ dropdown, choose Nougat 32-bit and click next.
- Now, assign CPU and RAM to your PC configuration on the next screen. For example, if you use a high-end system like ASUS ROG or any other gaming PC, then set CPU to High (4 Cores) and RAM 4GB. A Medium (2 Cores) CPU and 2 GB RAM are sufficient for a PC with medium specifications. Keep Resolution, ABI Setting, and DPI as is. Click on the “Create” button.
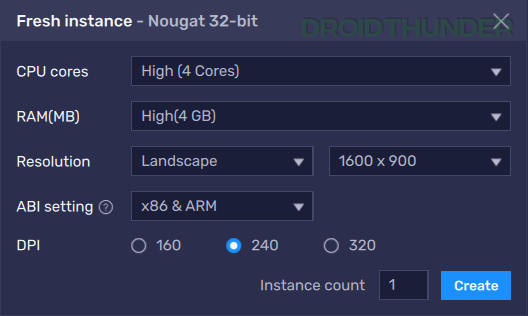
- BlueStacks will immediately create the instance, rename it to the name of your liking and finally click on the “Start” button. The initialization process won’t take more than 2-3 minutes.
- Click on the Play Store app on the top left corner and sign-in into your Google account.
PUBG Mobile/BGMI Installation within BlueStacks
Here comes the most awaited part of this tutorial: the PUBG Mobile/BGMI installation. And if you think it’s as simple as installing a mere apk or downloading the game from the Play Store, then you are wrong. I have seen many people following this method and getting the famous “Error code:restrict-area” message in BlueStacks. Even I had made the same mistake myself.
Now, PUBG has a code in its apk for emulator detection. So, whenever you start the game from BlueStacks, it will immediately block you from accessing the game. It won’t allow you to get to the main menu, let alone play the game. So what’s the remedy? Bypassing BlueStacks emulator detection, you think? Well, no. We will not use any hack or script to run PUBG Mobile/BGMI on the PC. There is a simple trick to bypass the “restrict-area” message. Follow the steps below to get this working.
Exciting Stuff: 10 Best Spider-Man Games for Android
BlueStacks Game Center Method
- Open BlueStacks and run the 32-bit Nougat Instance that we created earlier. Upon running, you should see N32 written on the window bar at the top.
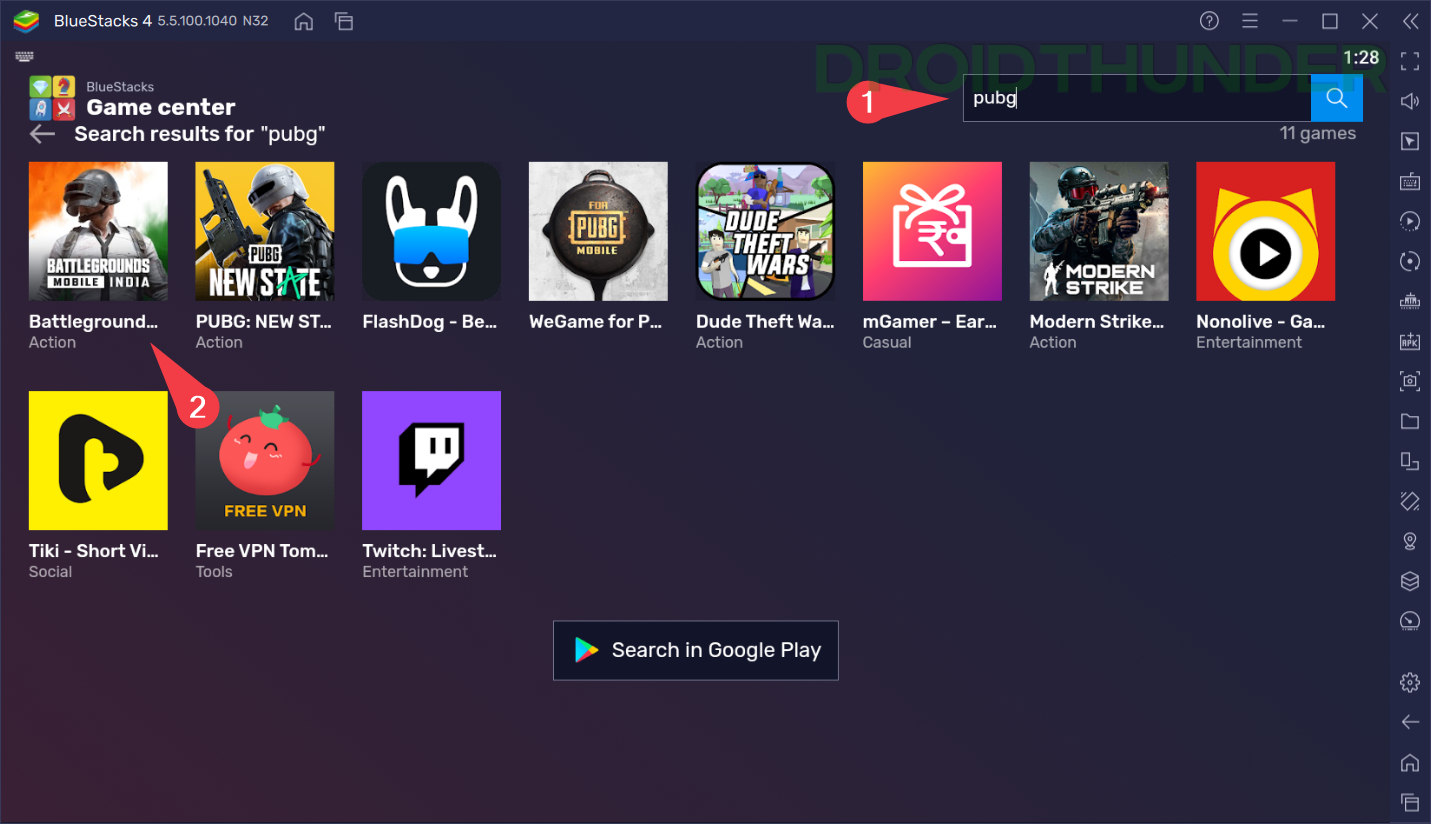
- Inside BlueStacks, Click on the Game Center icon beside Play Store. Search for Game Center if you can’t see it on the home screen or have multiple Android apps installed.
- Search for ‘PUBG’ in the search bar of the Game Center app. Click on the PUBG Mobile/BGMI icon and hit the install button. Note that global users will see an option to install PUBG Mobile here, while Indian users will have the Battlegrounds Mobile India (BGMI) icon. PUBG download size is around 1 GB, so depending on your network speed, it can take up to 15 mins to 1 hour for BlueStacks to get the game ready for you.

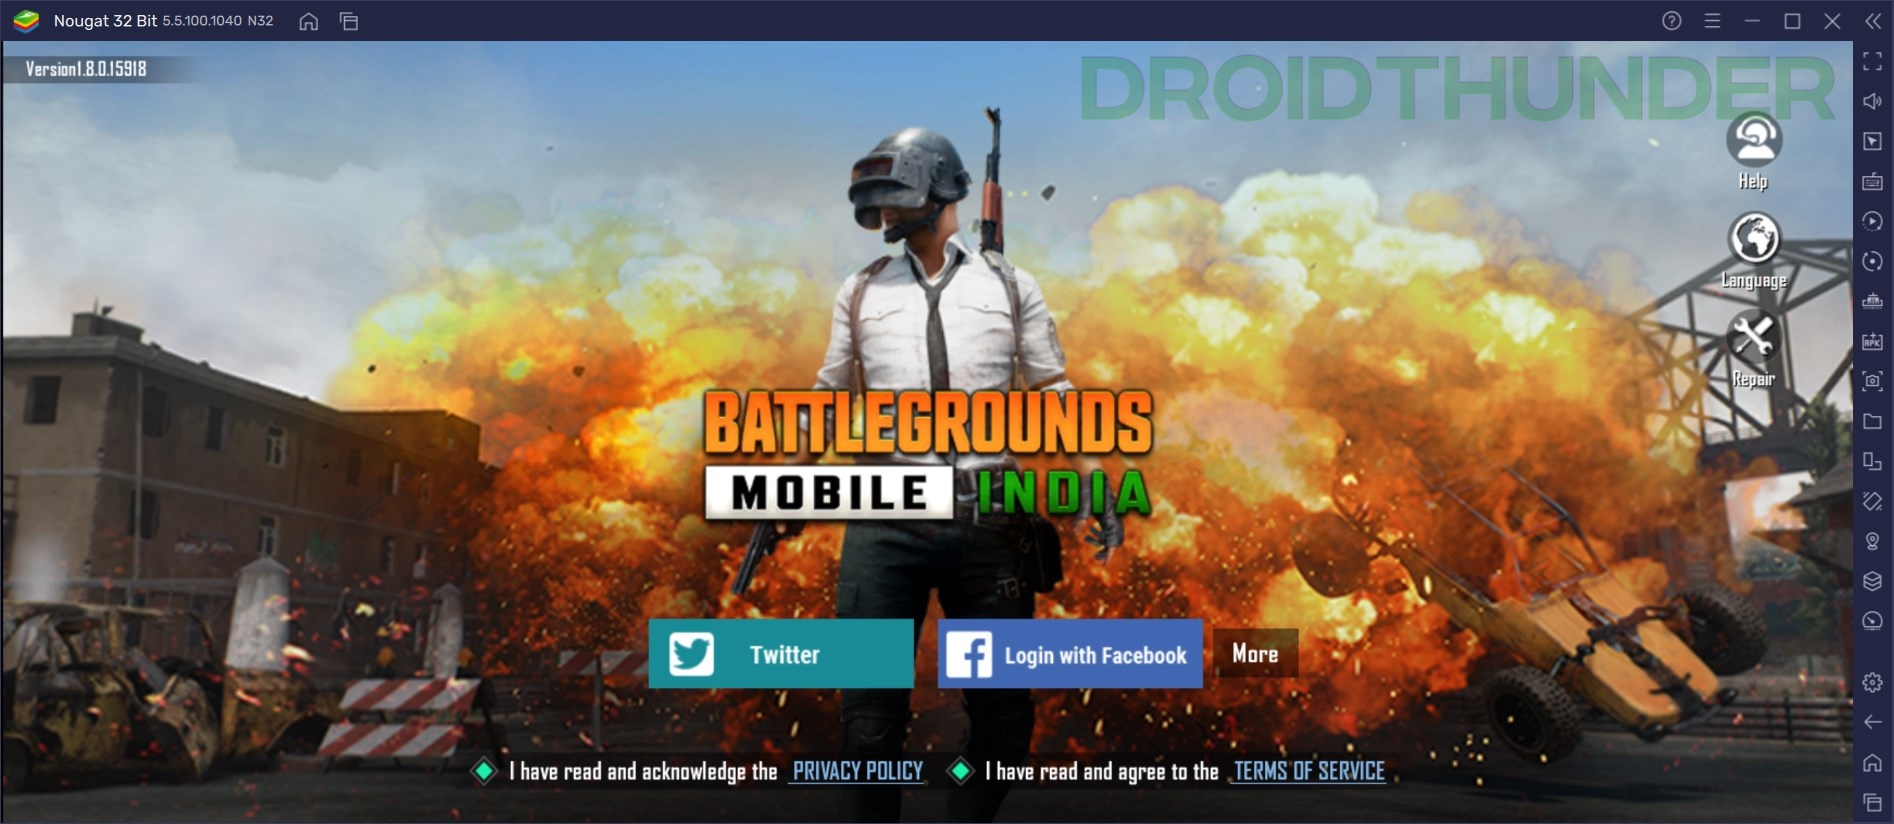
- Once the installation is complete, a shortcut to the game shall appear on the desktop—double-click on it to launch the game. Upon the launch, the game will download a few update files. Sign in with your Play Games or a Twitter account on the next screen. You can even play as a guest to test the game.
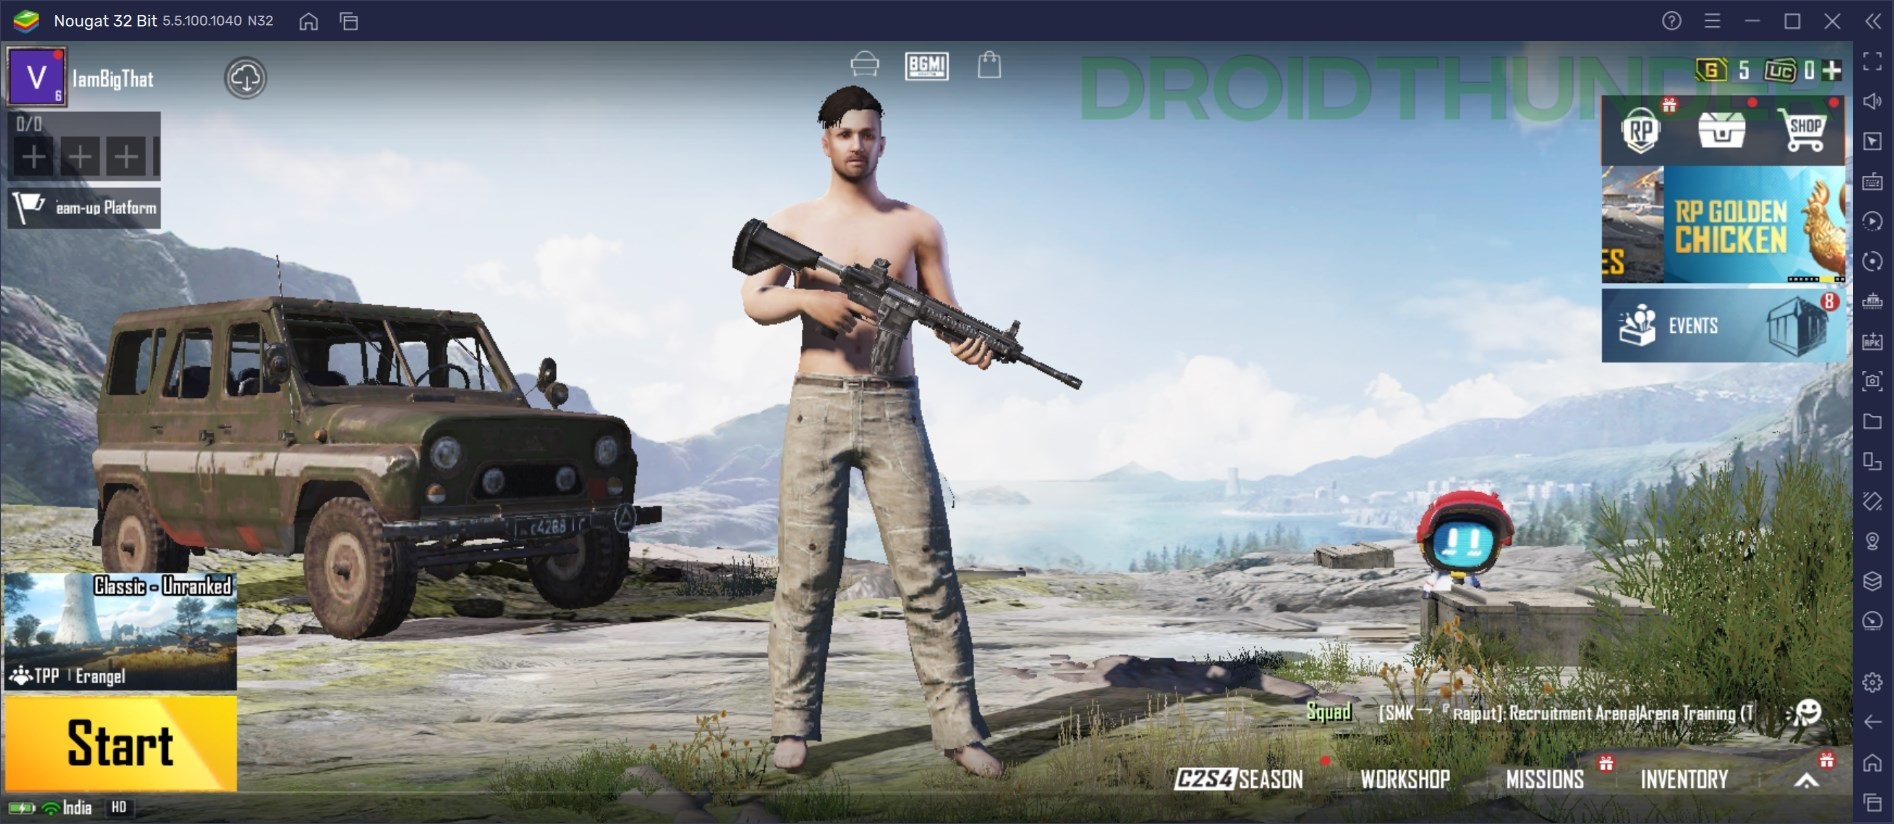
Have Fun Playing PUBG Mobile/BGMI on PC with your Friends
There you have it, folks! Now, you can enjoy PUBG Mobile and Battlegrounds Mobile India with your friends on PC. From our observation, when you play PUBG from your Windows PC, you are matched with the PC players only and not with the mobile ones. To make the gaming experience fair for both PC and mobile users, Krafton has implemented such an algorithm.
Another thing we learned from the other users is that when they used BlueStacks for playing PUBG, their accounts got banned. However, we didn’t experience anything with the ban yet, so we can’t say if it’s a thing. We hope you don’t get banned too. Let us know your PUBG gaming experience in the comments below. And don’t forget to check the FAQs section as well.