
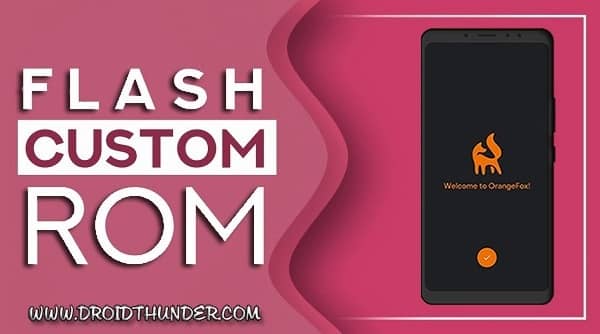
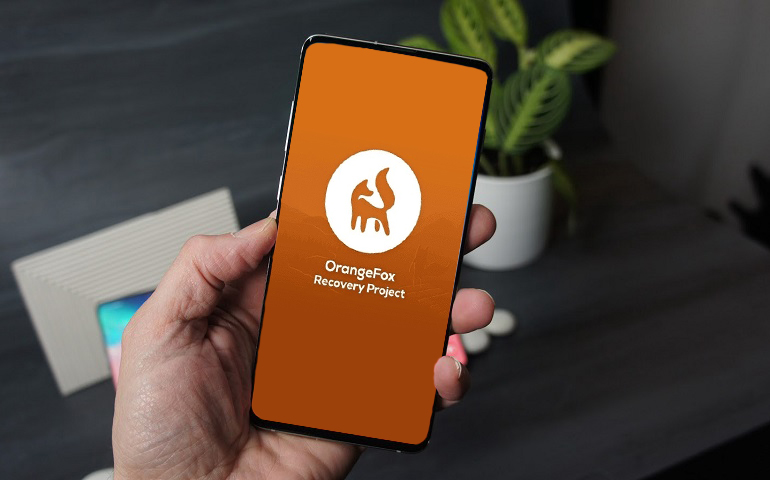
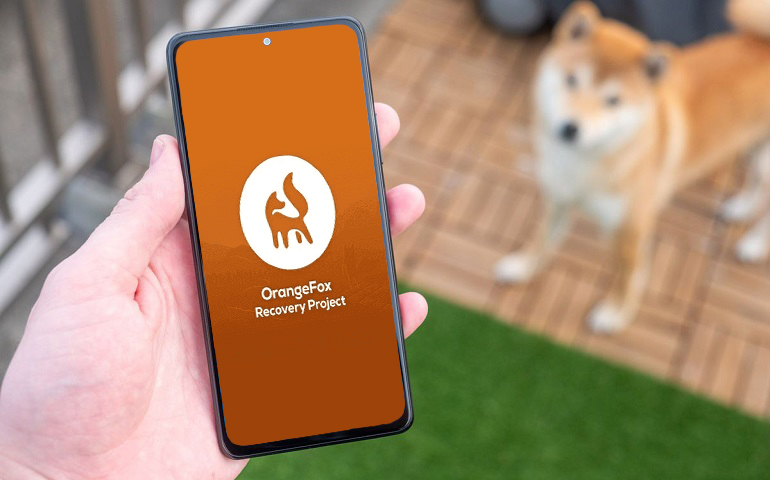
Based on the TWRP source code, OrangeFox is an upcoming custom recovery. Like TWRP, you can use OrangeFox Recovery to flash custom ROM, take Nandroid backup, Wipe Data and Cache partitions, etc.
Yes, TWRP is indeed the most used and preferred custom recovery. However, users often get bored with all things at a certain point. Just like CWM and TWRP, OrangeFox is an open-source custom recovery with plenty of advanced features.
Besides, it is also considered the best alternative to the Redwolf recovery. Moreover, it comes with an in-built init.d functionality support. Most importantly, it even supports MIUI OTA updates, Magisk, SuperSU, etc.
OrangeFox was initially developed for Xiaomi Redmi Note 4X Snapdragon. But later many Xiaomi phones received this custom recovery update. As compared to TWRP, OrangeFox is mostly used on Xiaomi smartphones and tablets.
There are many similarities between TWRP and OrangeFox. But the only difference is that TWRP comes with a simple and easy-to-use UI. Whereas Orange Fox features some complicated and advanced functions.
However, when it comes to a Custom ROM flashing process, it is quite similar in both recoveries. There are times when TWRP shows a status 7 error while installing any custom or official stock firmware.
At such times, you can use the ADB sideload method to flash the Android firmware. But what if it doesn’t work? Then the only way to escape this problem is to install stock firmware using any flash tool.
But, if you own the OrangeFox recovery, then you can easily flash custom ROM on any Android device. Additionally, you can also gain root access with the in-built Magisk and SuperSU features.
If you ever face any error while flashing custom ROM in TWRP, you can always go for OrangeFox as an alternative. Moreover, many Android OEMs are releasing Orange Fox for their devices instead of the TWRP recovery.
How to Flash Custom ROM using OrangeFox Recovery
Are you ready to use Orange Fox Recovery to install custom ROM on your Android device? Then let’s start the flashing process.
Disclaimer
Note that this custom ROM flashing process is risky. There are chances of complete damage. Hence, it is necessary to follow the steps carefully. Moreover, this will void your phone’s warranty and wipe out your entire phone data. We at Droid Thunder will not be responsible for any damage while/after following this guide.
Caution
Make sure that you are installing the correct custom ROM on your Android phone. Do NOT flash incompatible firmware as it might brick your device.
Pre-Requisites
- Charge your phone to a minimum of 65%.
- Take a complete Android backup of your phone data.
- Unlock your phone’s bootloader before going further.
- Enable USB debugging, OEM Unlock, and Advance reboot mode.
- At last, root your phone and install the latest OrangeFox Recovery.
Steps to Install Custom ROM using OrangeFox Recovery
Follow the step-by-step guide given ahead.
1. Download Custom ROM on Android
- First, download the custom ROM zip file on your handset.
- Ensure to download your device-specific firmware.
2. Boot Android phone into Recovery
- Power off your Android phone.
- Now, reboot it into OrangeFox recovery mode.
- Each phone has different ways to restart into recovery.
- You can simply Google it or use the Recovery Reboot app from the Play Store.
3. Take Nandroid backup with OrangeFox
- As soon as you boot into recovery, create a Nandroid backup of your current Android system.
- This is essential because if something goes wrong, you can easily restore the saved version.
4. Wipe Data and Cache Partitions
- Click on the Wipe button.
- On the next screen, select Dalvik / ART cache, System, Cache, Data, and Vendor options.
- Swipe right to initiate the factory reset wiping process.
- Remember that this step will delete your complete phone data. Therefore, don’t forget to take a backup first.
- Upon completion, a message saying, ‘Wipe completed successfully’ will appear.
5. Install Custom ROM with OrangeFox
- Let’s start the Android ROM flashing process.
- For that, press the Files option on the recovery.
- Navigate to the downloaded custom ROM zip package file and select it.
- On the next screen, swipe right to start the custom ROM flashing process.
- Wait until the installation is completed.
6. Finishing the installation process
- The process will be completed within a few minutes.
- You’ll see a successful message on the screen.
- Similarly, you can install Google Apps (GApps) using OrangeFox.
7. Reboot your Android device
- To restart your device, just click on the Reboot System button.
- In case, if you face the boot loop problem, just wipe data/cache partitions.
- Also, remember that the first boot will take more time to start than usual.
Conclusion
I hope that this easy steps tutorial will assist you in installing custom ROMs using OrangeFox recovery on any Android smartphone and tablet. If you liked this article, then kindly share it on your social media platforms. As always, if you find any difficulty during the process, then please do not hesitate to comment below.


1 thought on “How to Flash Custom ROM using OrangeFox Recovery”
Just installed orangefox n haven’t done anything then went to recovery mod N here I came across problem like 1.The file system shows a gibberish folders.
2. When I format yes it says not successful plus different error mgs
Well I hv tried maximum of YouTube vedio N the end result was always system has been destroyed (which I fixed 4 times) this is my 5th attempt
PLEASE HELP
Device : REDMI NOTE 7 PRO.
PLEASE HELP SIR