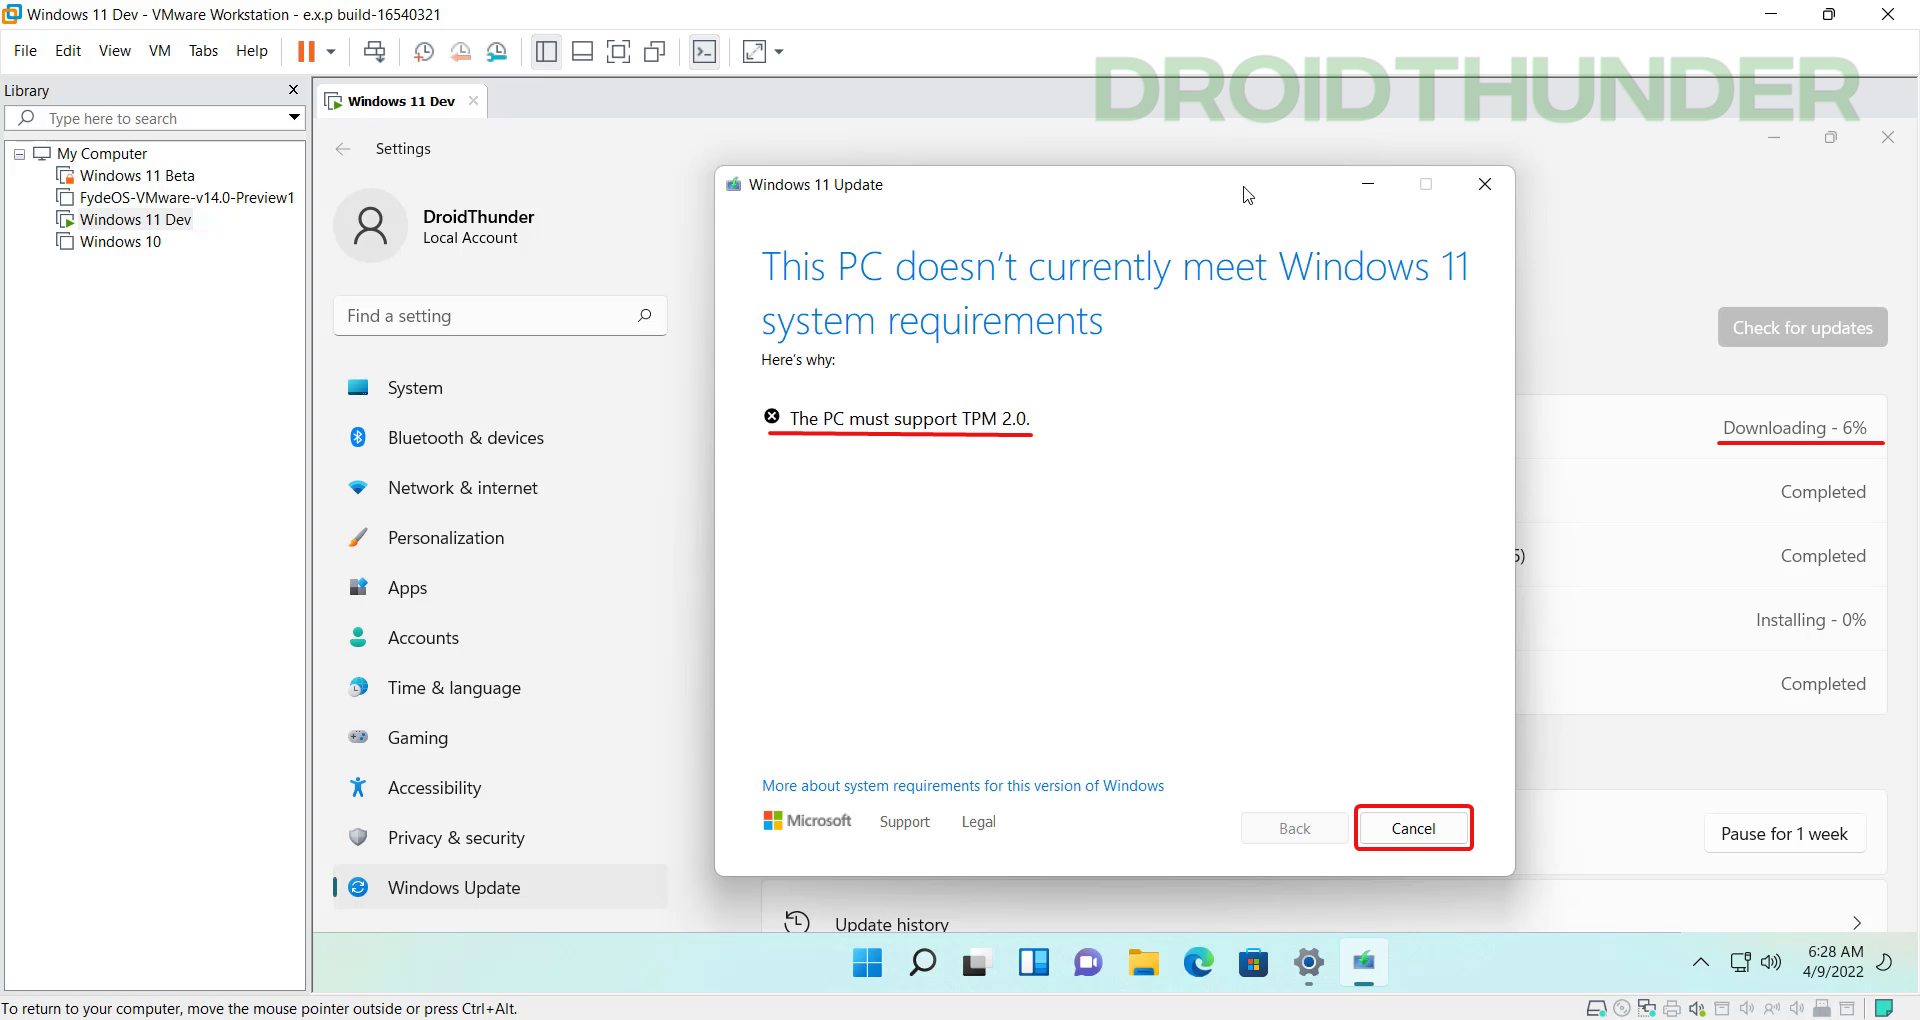
Lately, Microsoft has been pushing exciting features in Windows 11 dev builds. Last week, the company released build 22593 for its Windows 11 dev channel, including features like file explorer tabs. Usually, dev builds include experimental, half-baked features and are sometimes entirely broken. These features may or may not make their way to the release build. So, to try these features, most users prefer a Virtual machine environment. But there is one problem with Windows 11. Due to its stringent system requirements, it’s tricky to update Windows 11 to the latest build on a virtual machine. If you try to run Windows Update, you’ll receive an error – ‘This PC doesn’t currently meet Windows 11 system requirements. The PC must support TPM 2.0.’
This article will teach you how to add the TPM 2.0 module to a VMWare virtual machine, thus removing the said error and enabling you to update Windows 11 to the latest build.
Why use a Virtual Machine?
Some folks like to try new Windows 11 features, and thus, they are always on the lookout for the latest insider preview builds. But these Windows builds are meant for testing purposes and can not be used as a daily driver. There comes a Virtual machine into the picture.
Using a Virtual machine on a single PC, you can run Windows 11 beta or dev builds on the top of your current operating system. For example, let’s say you have Windows 10 as your current operating system and you want to try some different OS on the same machine. In that case, download & install VMWare Workstation Player and get the operating system ISO you want to run. You can run any guest operating system such as Windows 11, Linux, Chrome OS, or even Mac.
You can have as many virtual machines stored on your PC and run them parallelly, provided your PC has sufficient hardware configuration.
Update Windows 11 to the Latest Build on a Virtual Machine
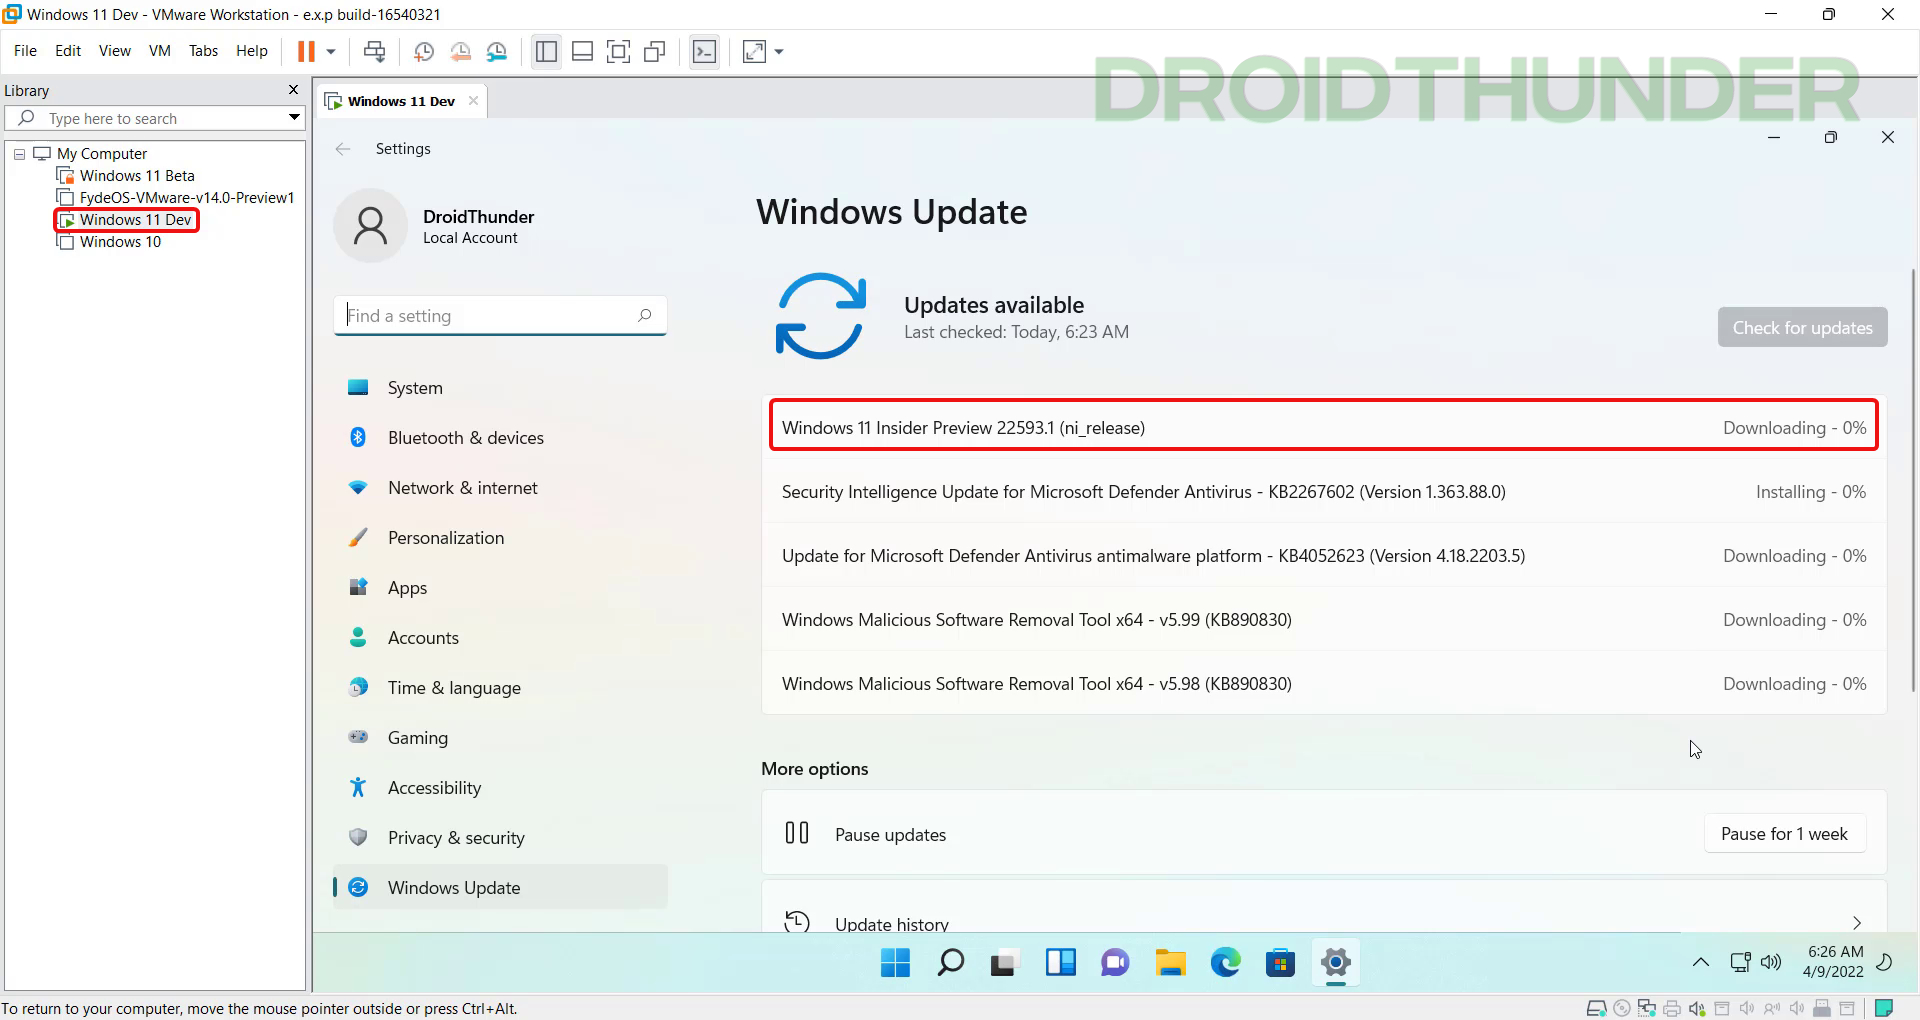
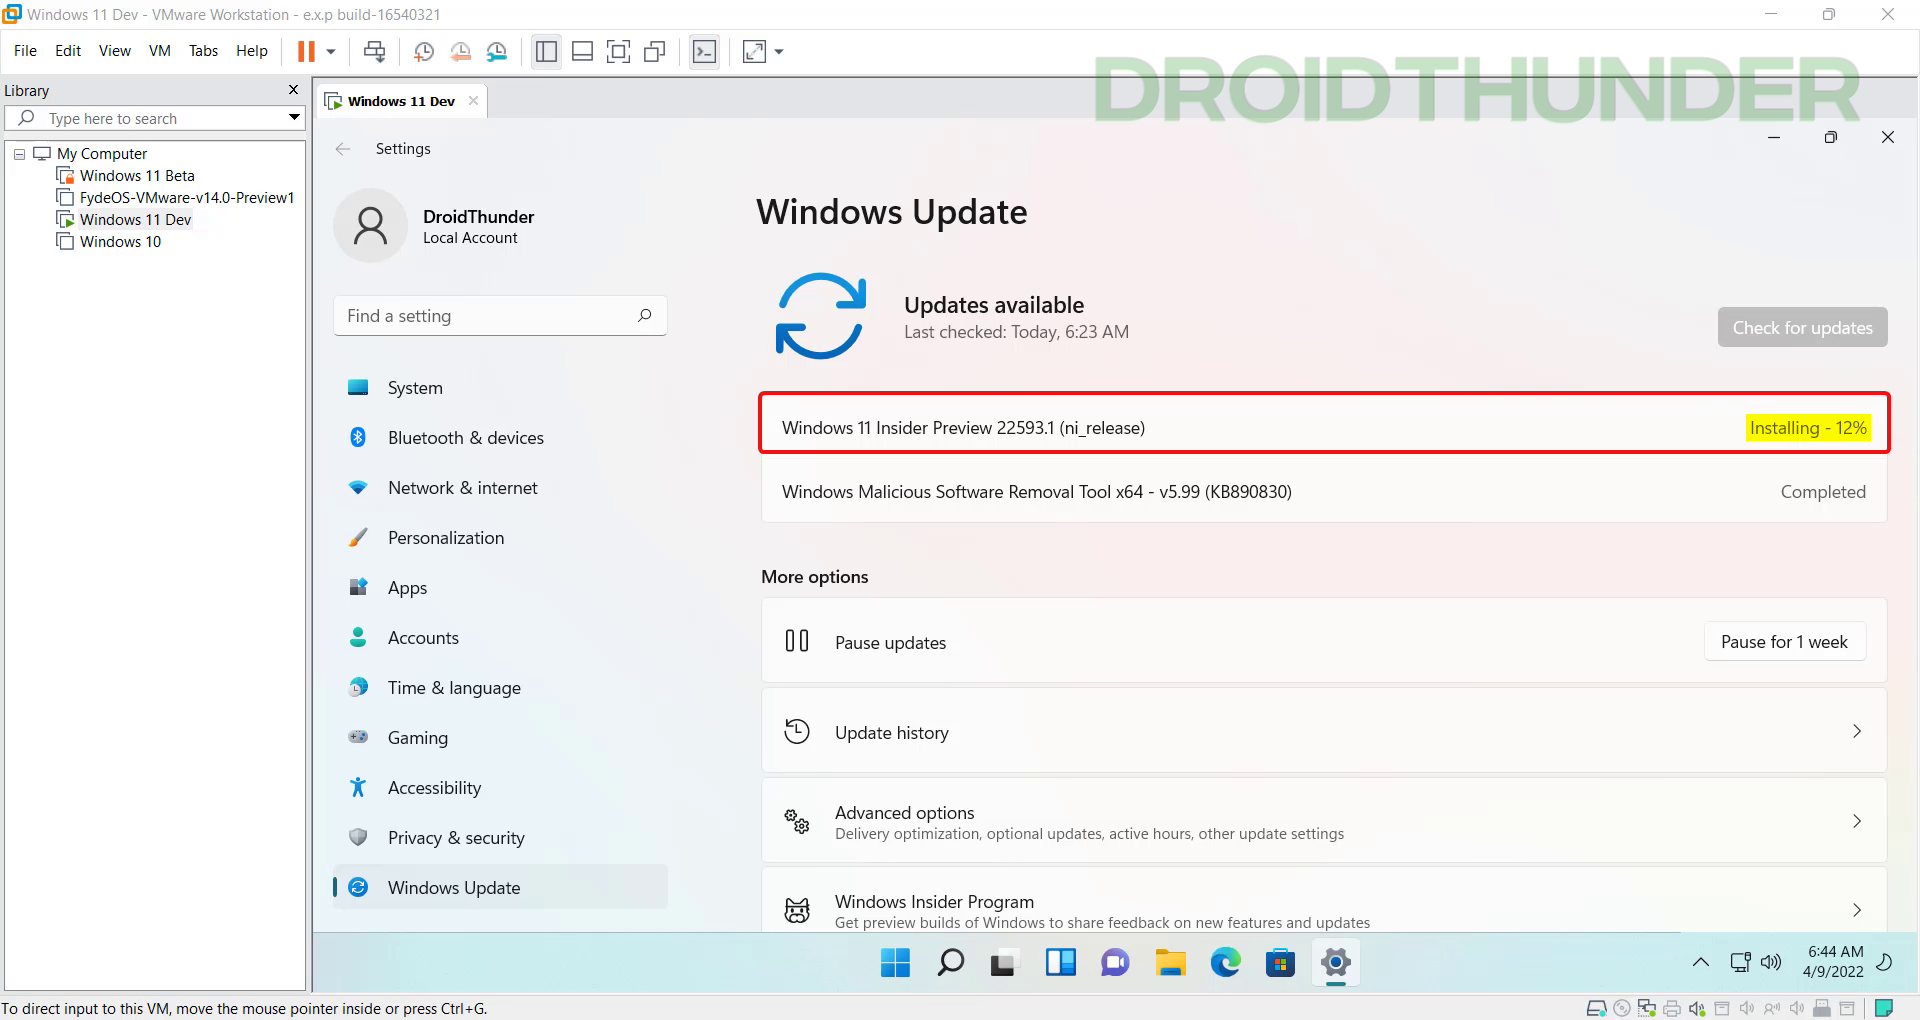
If you download Windows 11 insider build and make a virtual machine out of it, you’ll see a major update available for the OS. Refer to the below screenshot. You’ll see a Windows 11 Insider Preview 22593.1 (ni_release) update available in Windows Updates. I clicked on the download button, but it remained stuck on 0%.
A popup appeared after a few seconds and stated – ‘This PC doesn’t currently meet Windows 11 system requirements.’ The reason was – ‘This PC must support TPM 2.0.’
If you face the same issue, there is no need to worry. You can follow the steps given below, and within no time, you’ll be able to update Windows 11 on your virtual machine.
Encrypt Virtual Machine
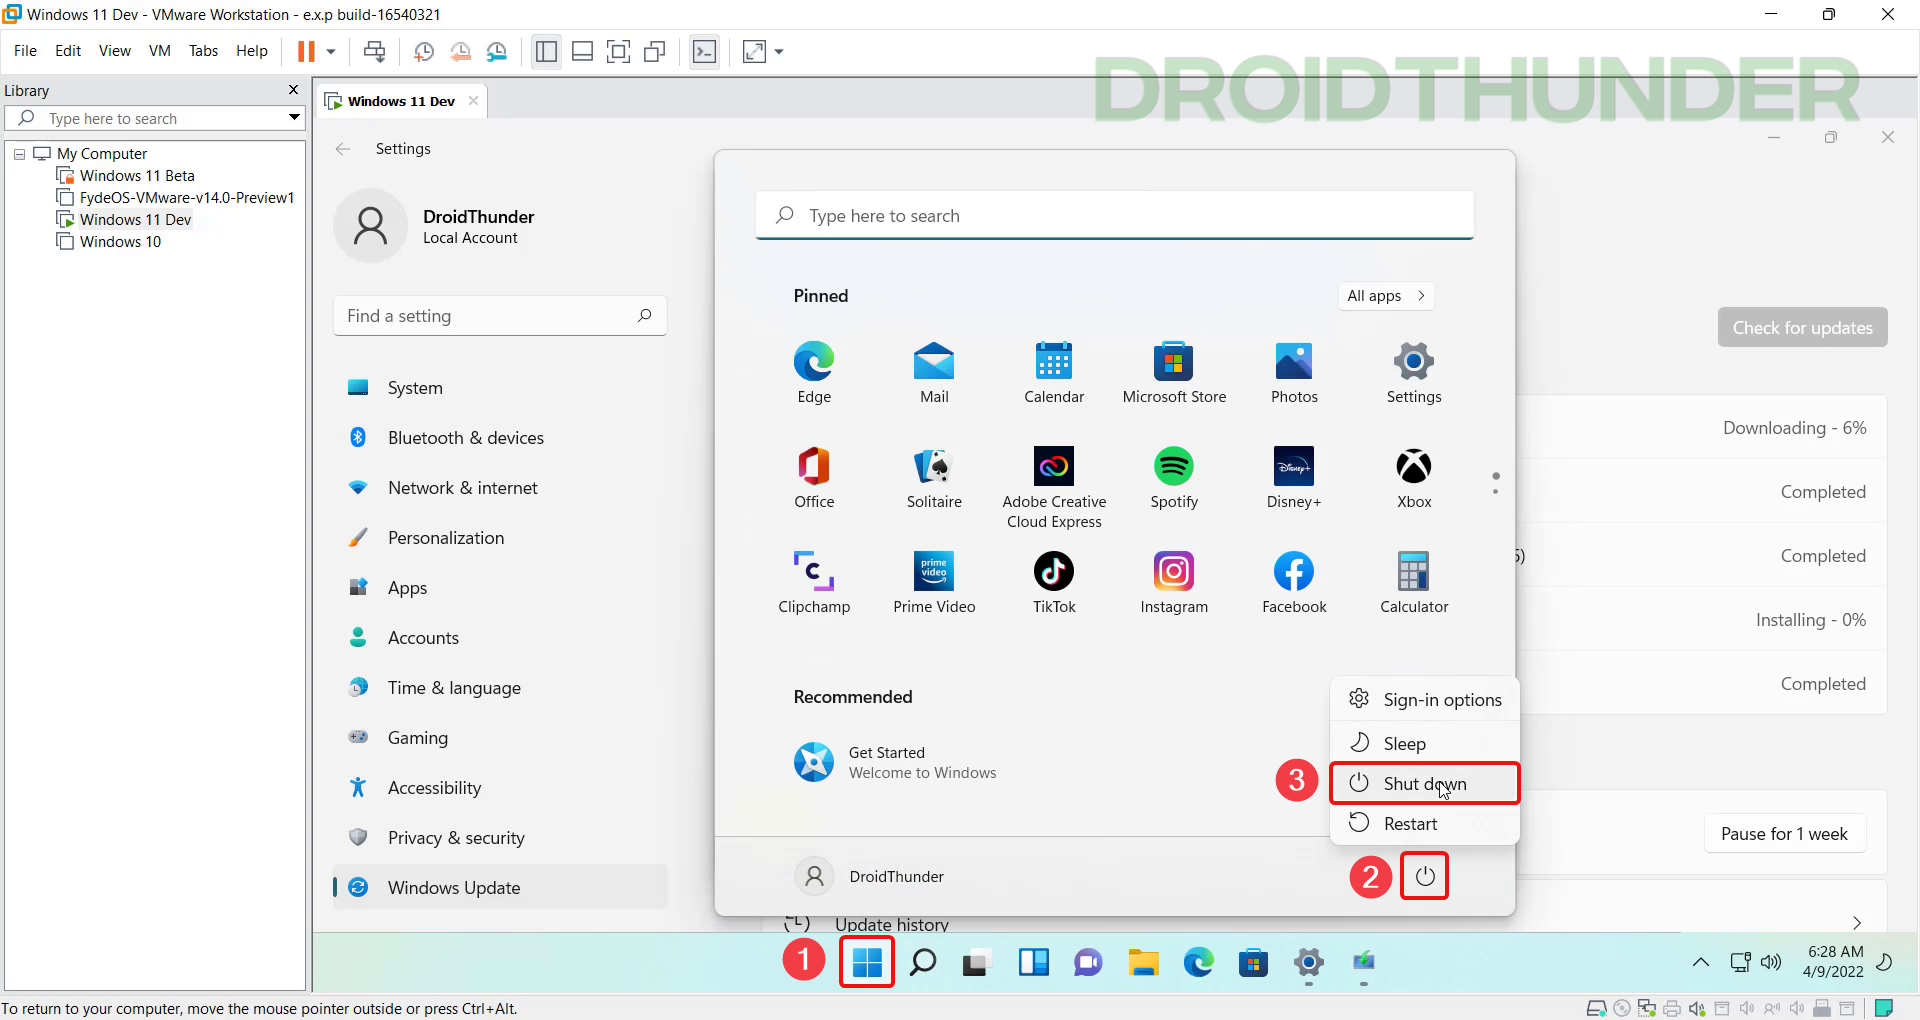
- Shut down the virtual machine.
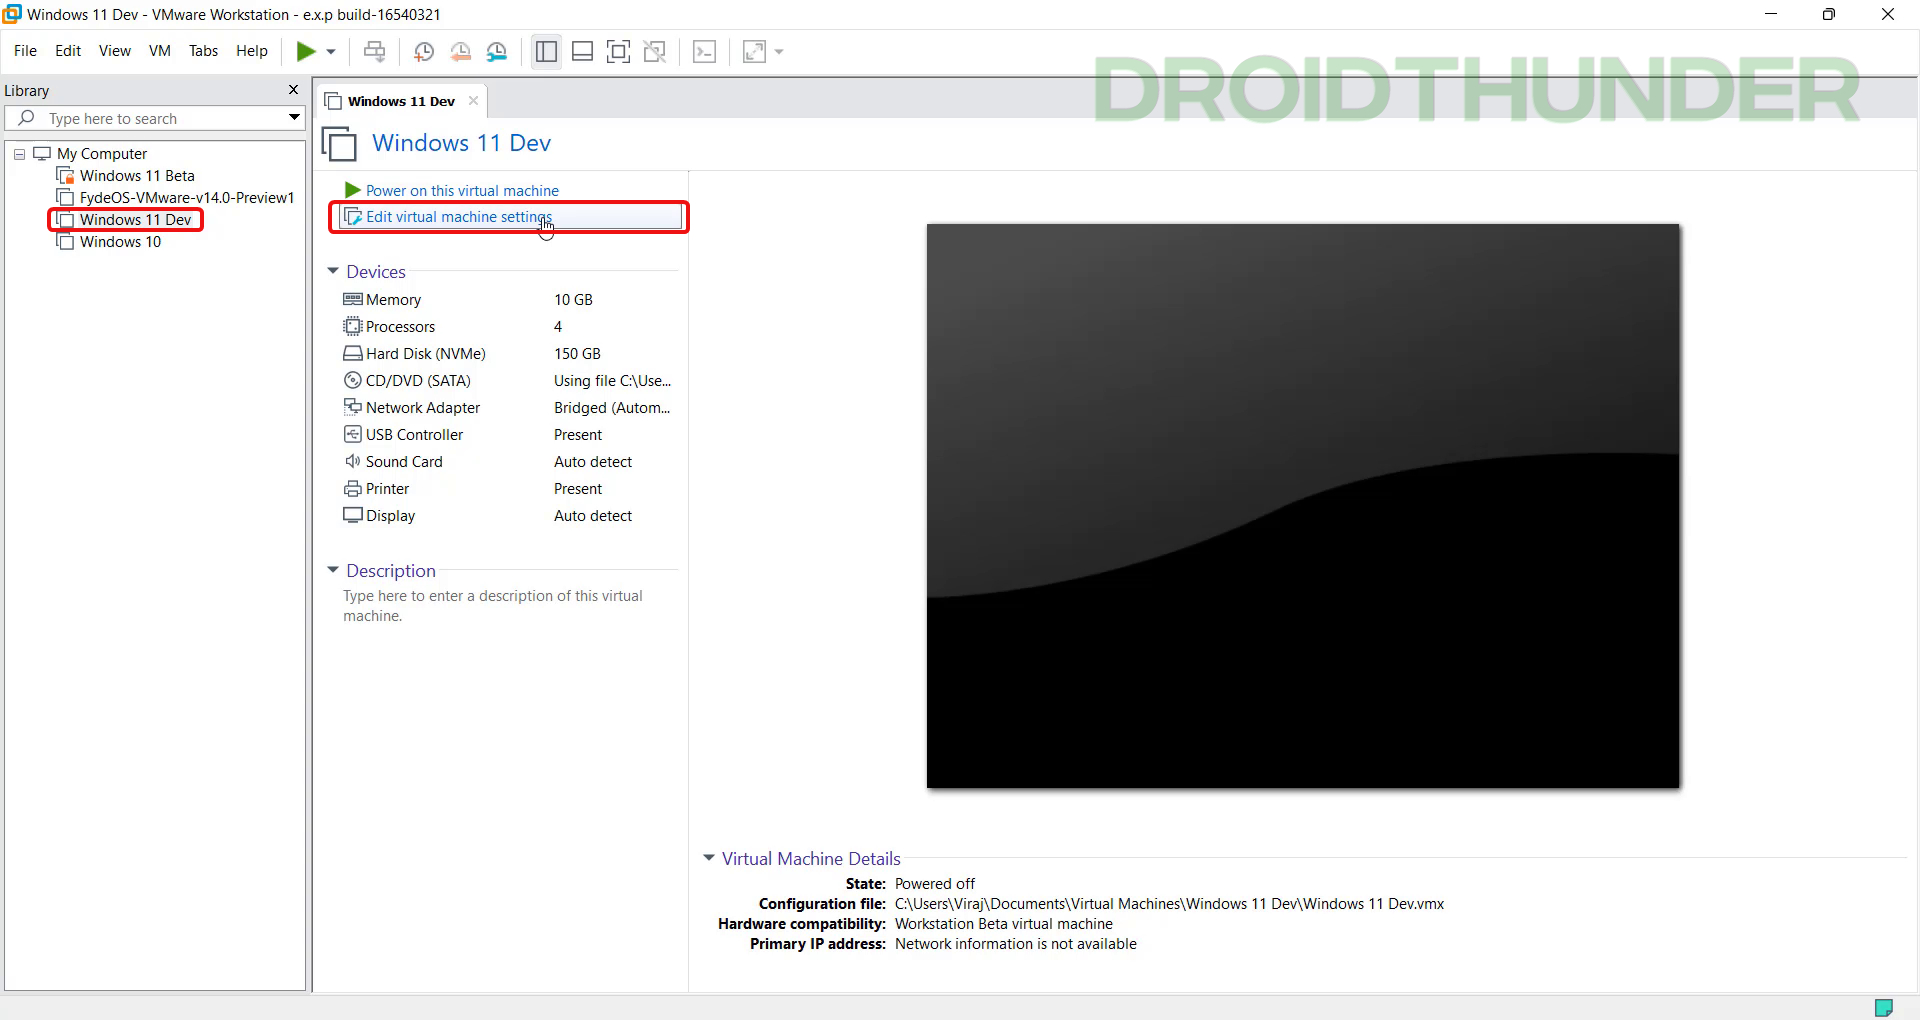
- We need to encrypt the Windows 11 virtual machine to add the TPM 2.0 module. Click on the virtual machine and then ‘Edit virtual machine settings from the right panel.
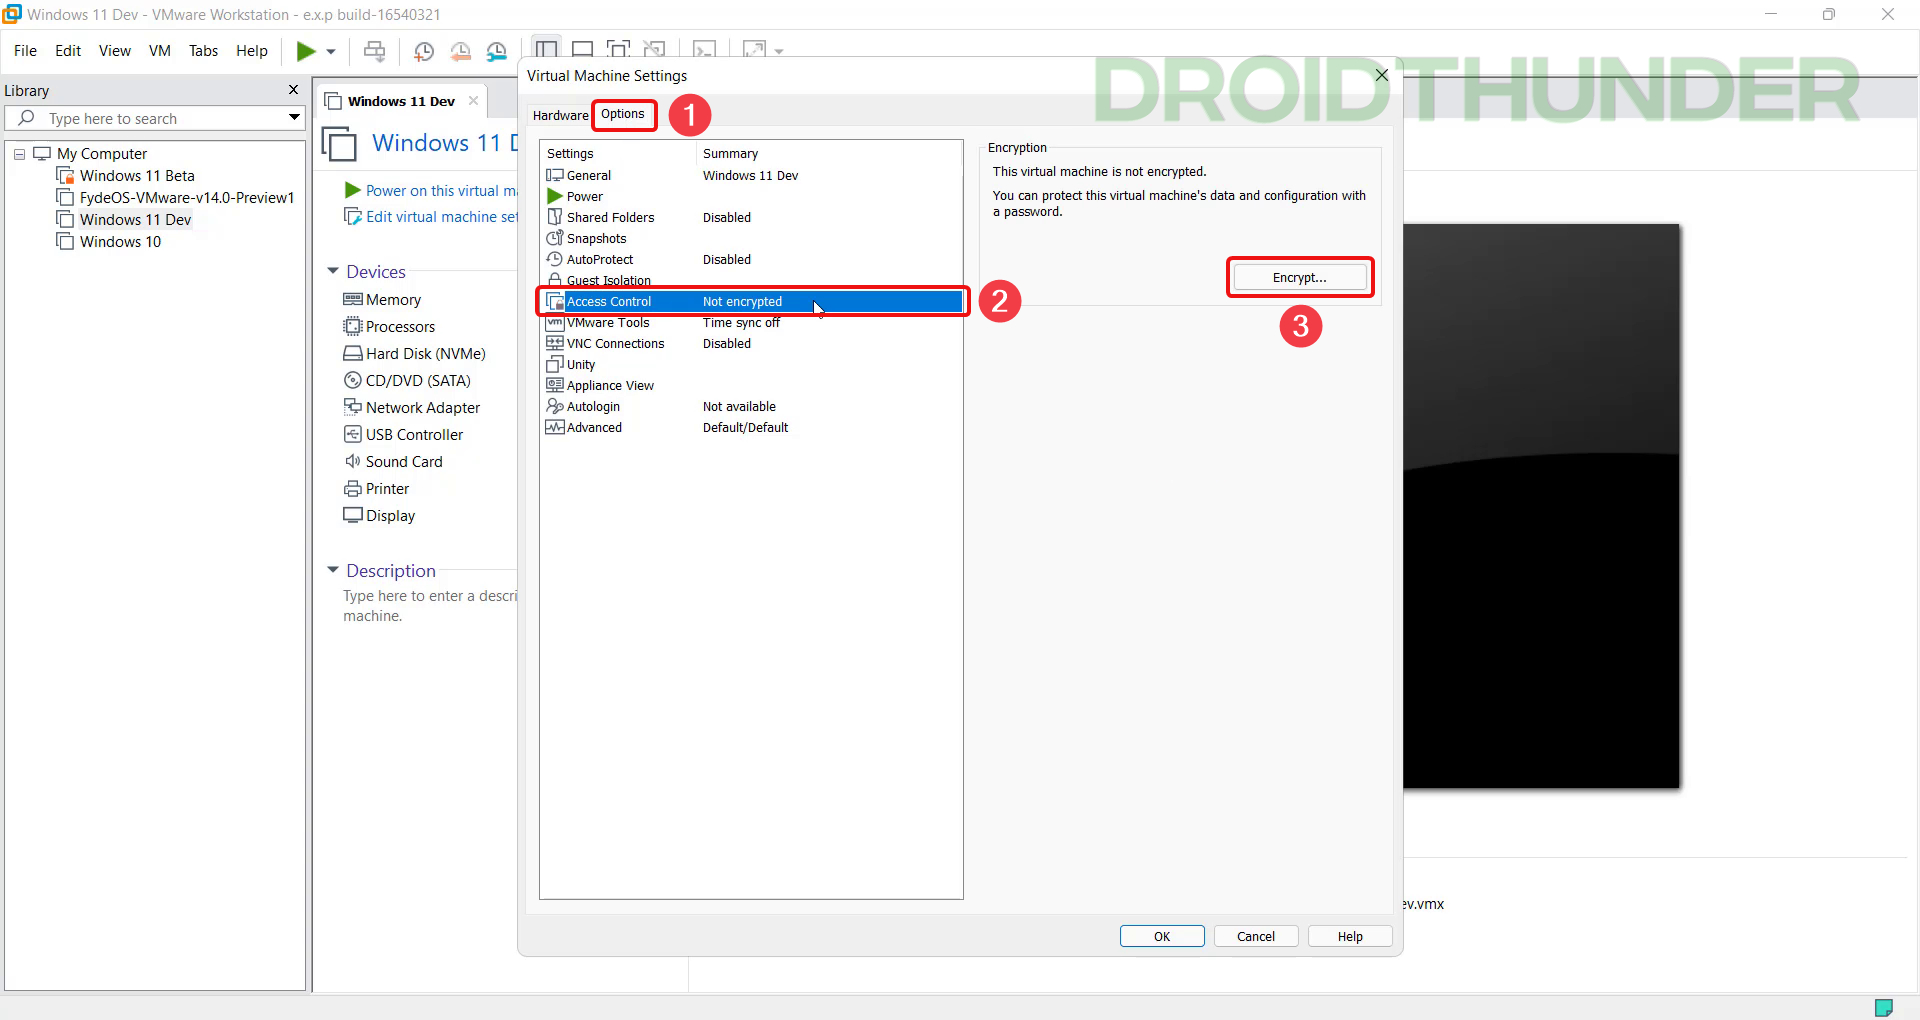
- Switch to the ‘Options‘ tab and click on the ‘Acess Control‘ setting. From the right panel, click on the ‘Encrypt‘ option.
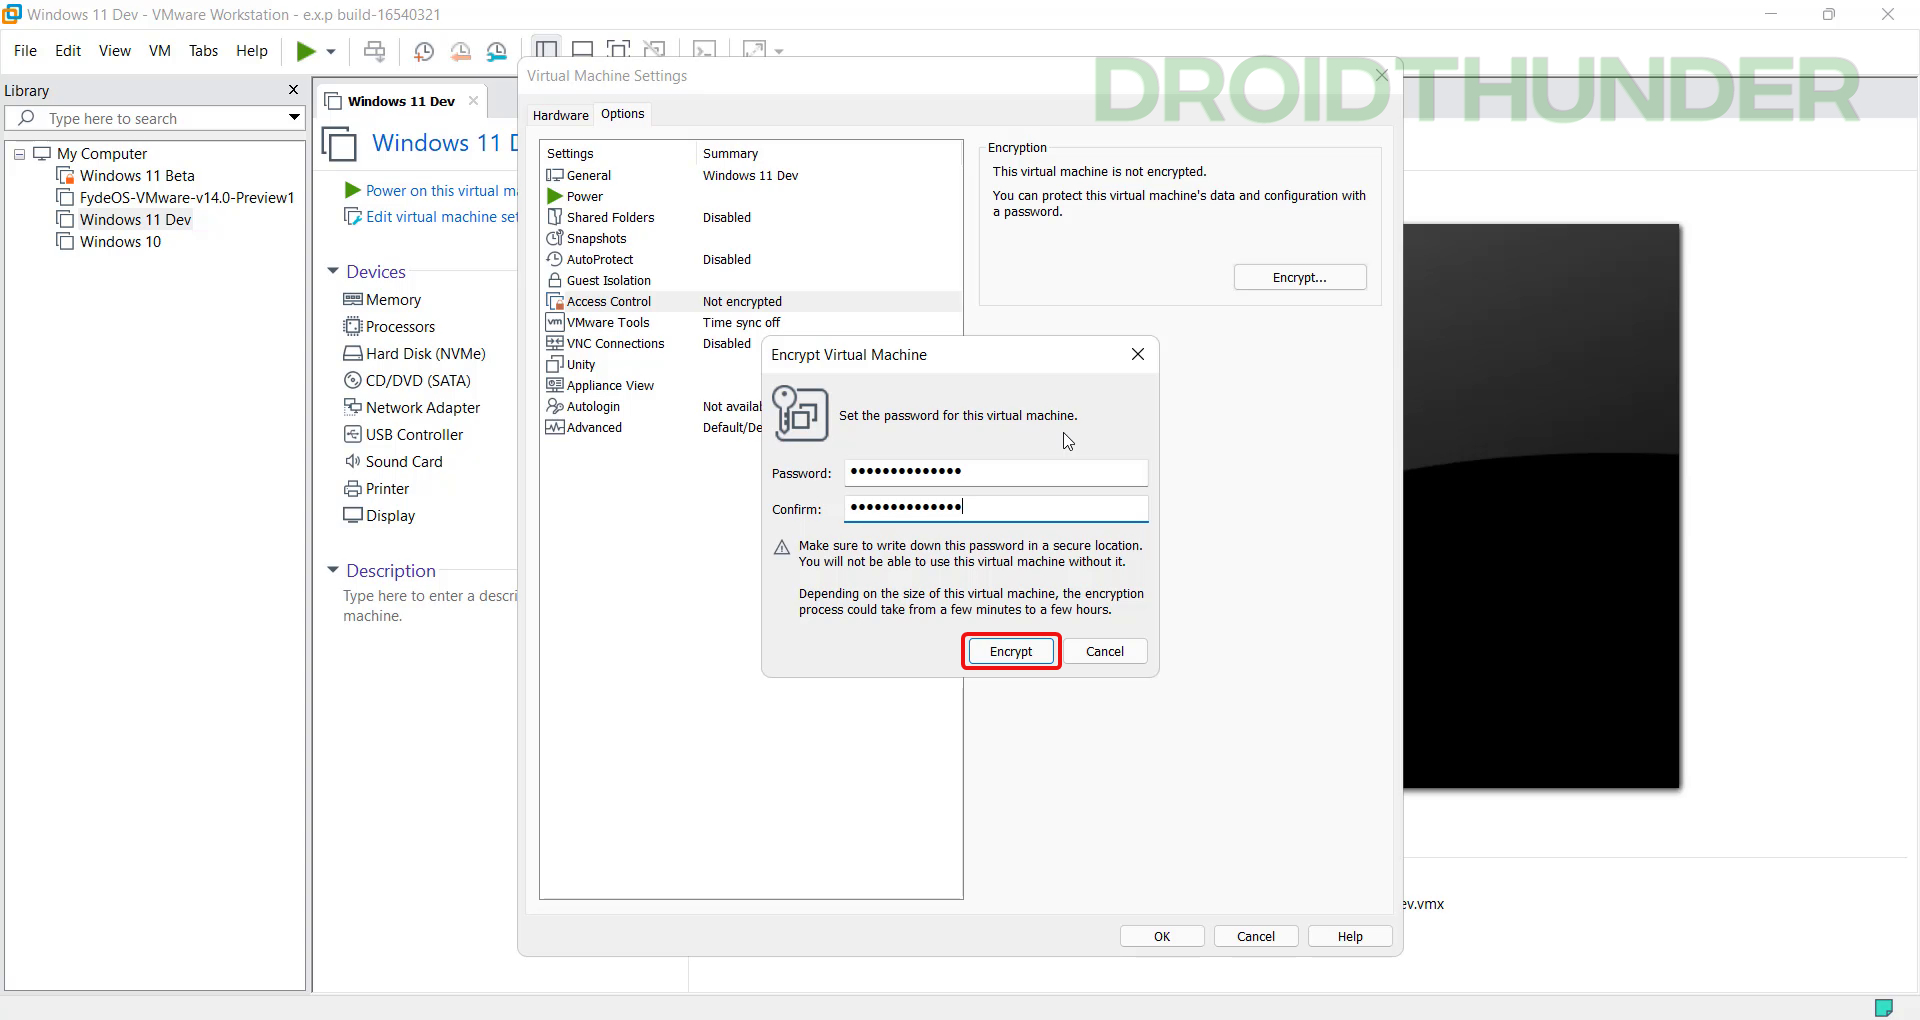
- You’ll be prompted to set your Windows 11 virtual machine encryption password. Once you enter the password, click Encrypt, and the encryption process will begin. Now, the encryption time depends on the size of your Windows 11 virtual machine. If you have freshly created the virtual machine, it will take 15-20 minutes for the encryption process to finish. It is to be noted that you won’t be able to start or use the virtual machine during the encryption process.
Note: Make sure you enter the password which you can remember easily. If you forget the encryption password, there is no way you can start the VM (virtual machine) or recover any data from it.
Add TPM Module
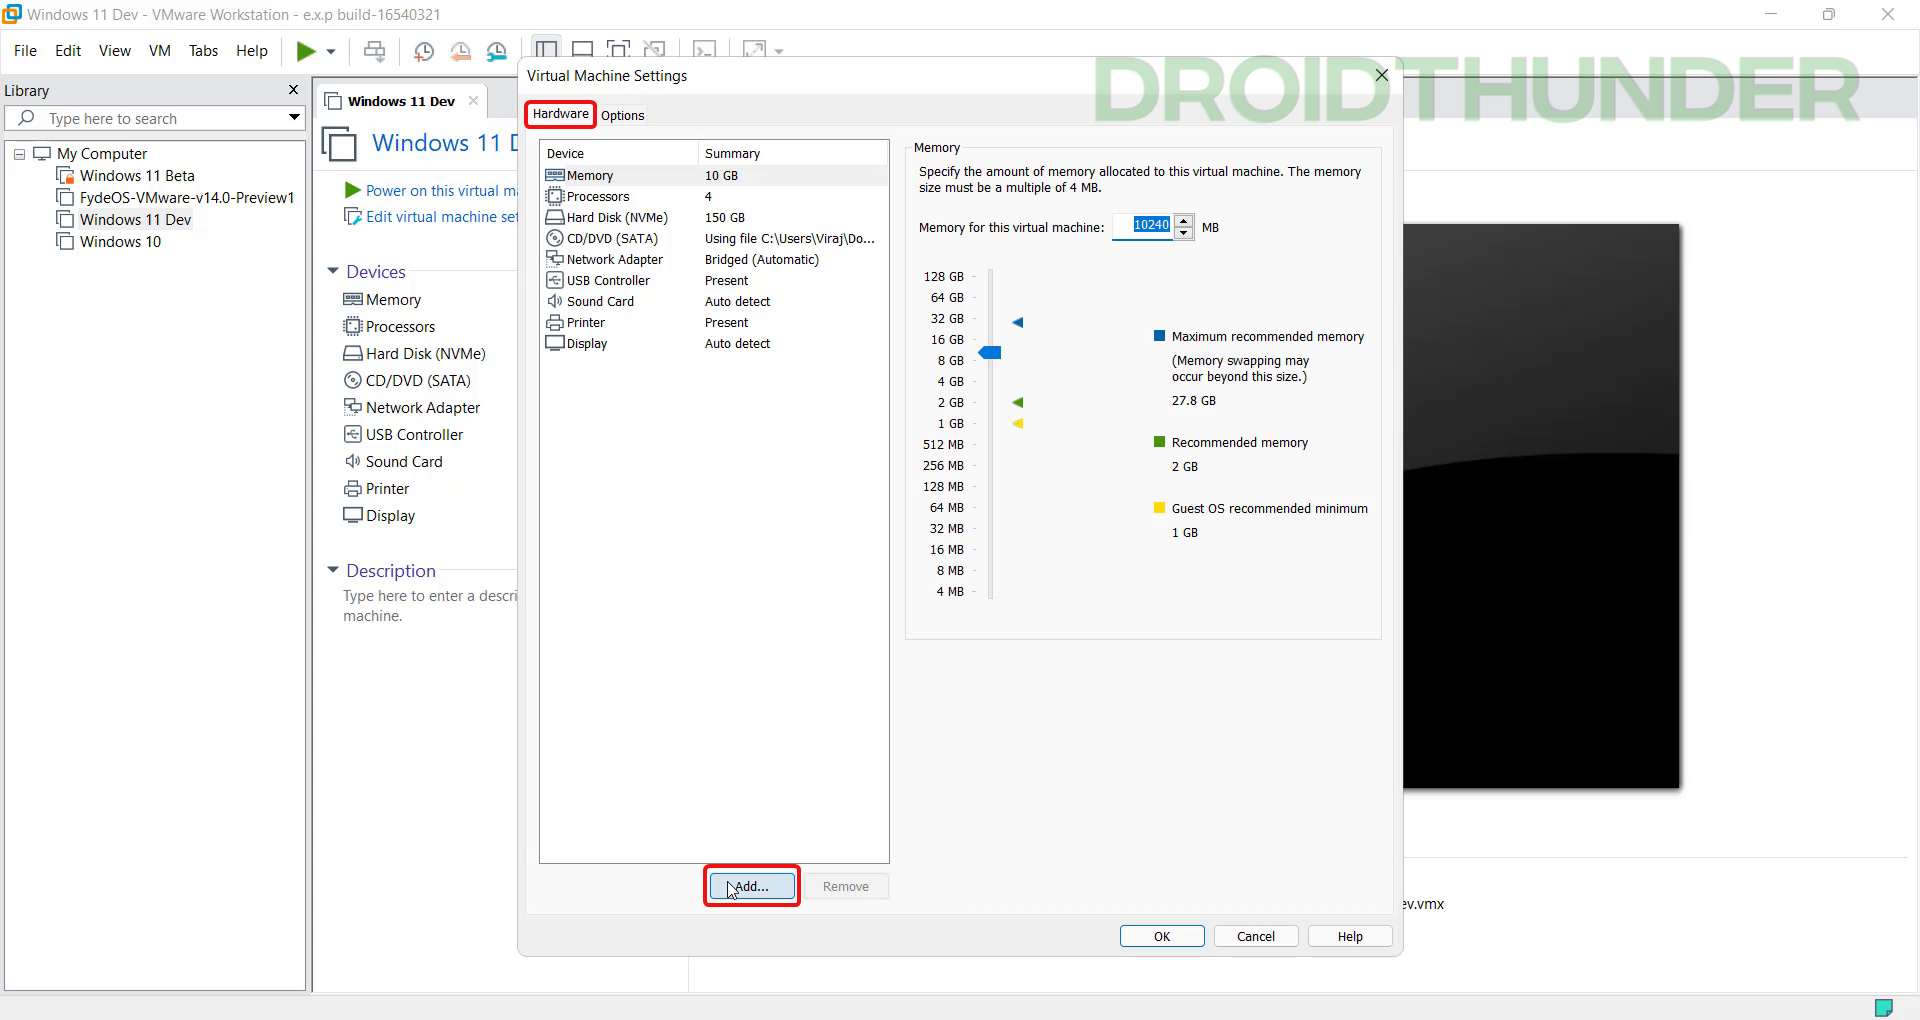
- Now that the encryption process is over, let’s add the TPM 2.0 module to the virtual machine. For that, switch to the ‘Hardware‘ tab. Click on the ‘Add‘ button.
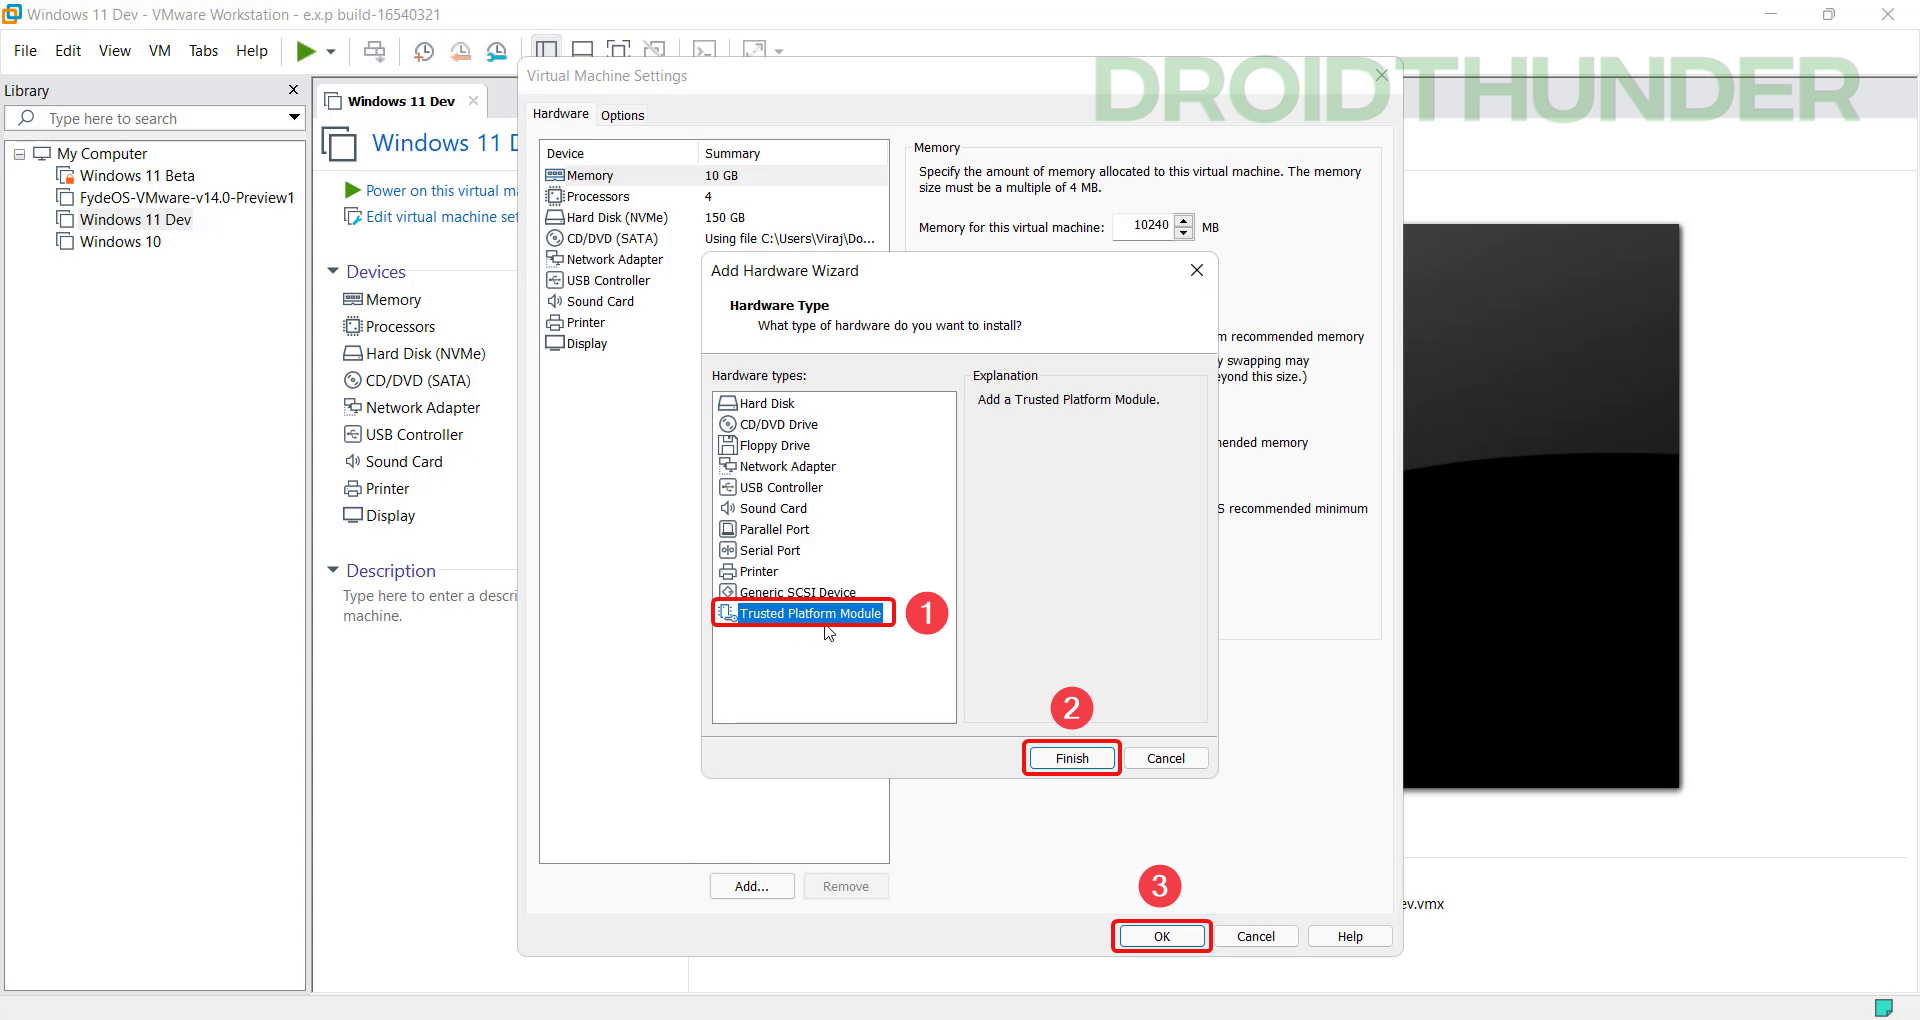
- A list of available hardware types will show up. Since you have encrypted the virtual machine, you’ll find an option to add the ‘Trusted Platform Module‘ at the end of the list. Select that and click on Finish.
Close the virtual machine hardware settings window.
Download & Install Windows 11 Update on a Virtual Machine
- Power on the Windows 11 virtual machine and open Windows Update from the Settings app. You can use a keyboard shortcut Windows + I to open the Settings app. Now, click on Check for updates. When the latest build appears, click Install.
There you go! No TPM popup will appear now, and you’ll be able to update Windows 11 on a virtual machine without any issues.
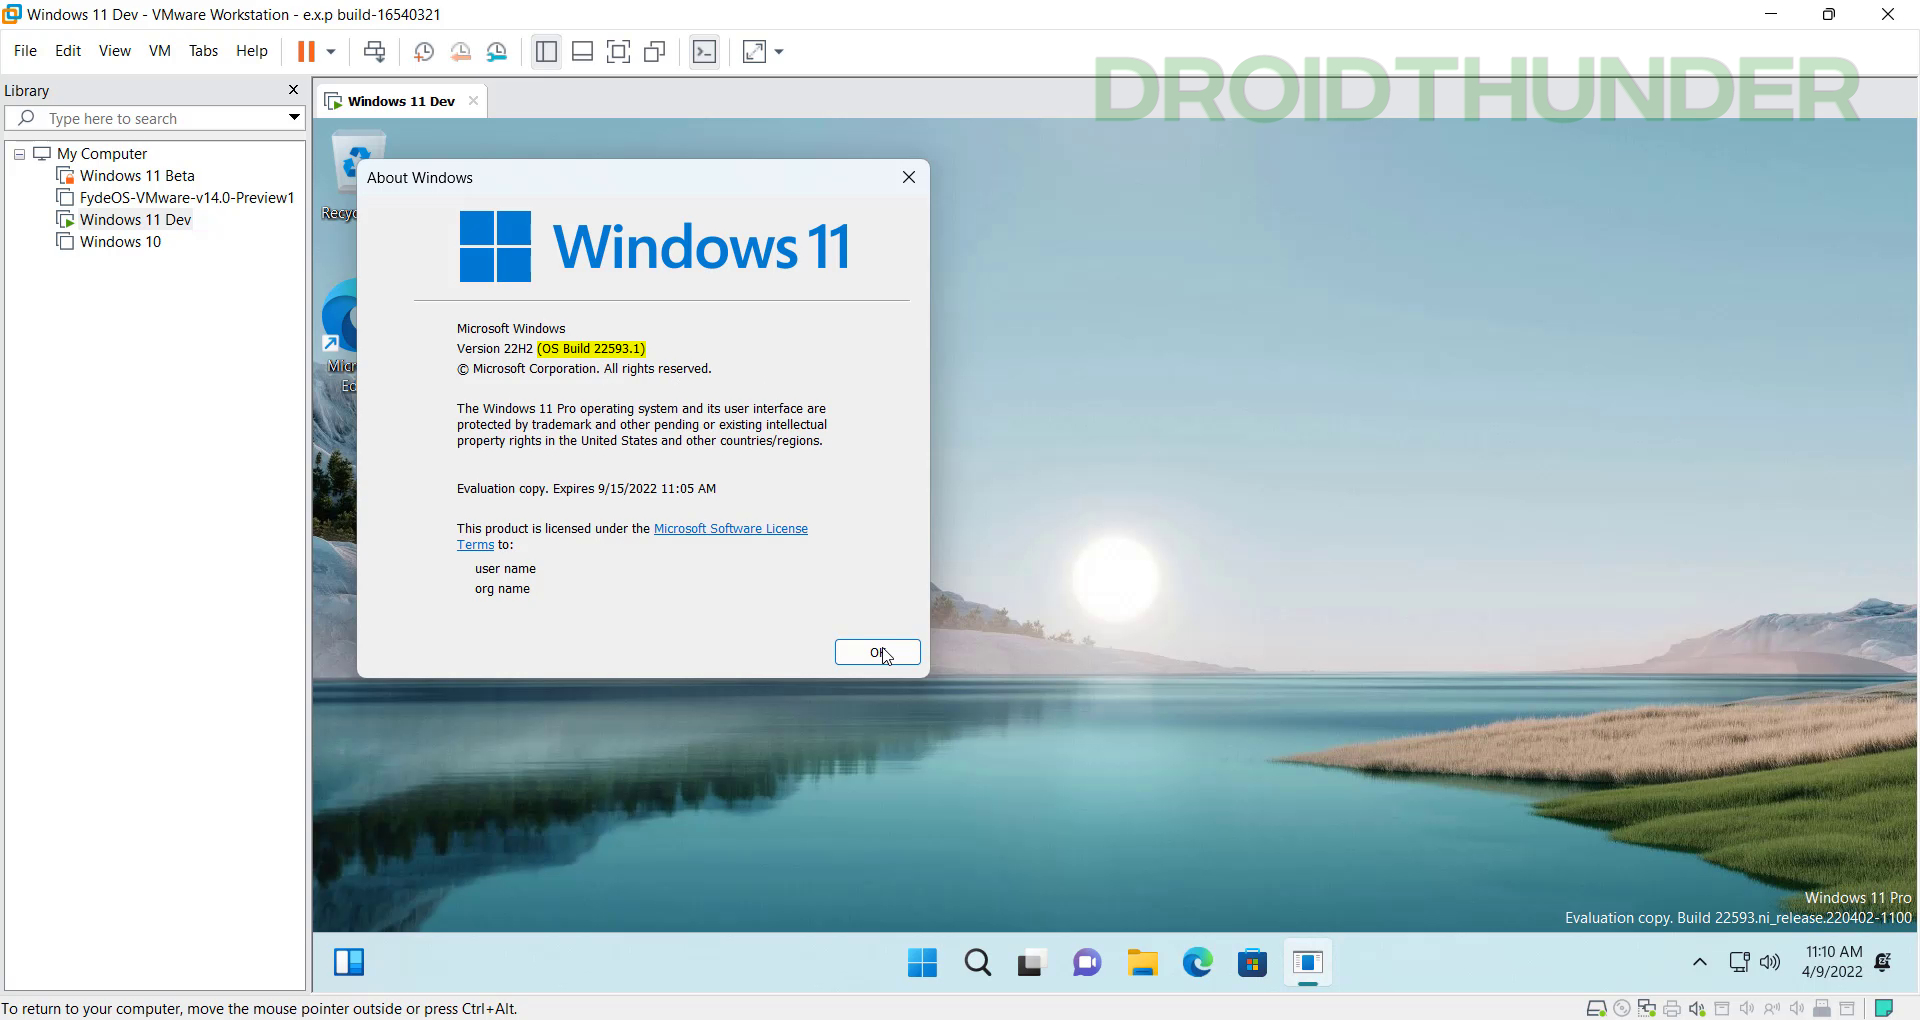
- Once Windows finishes the update installation, you can check the build number by entering winver in the run command.